Post
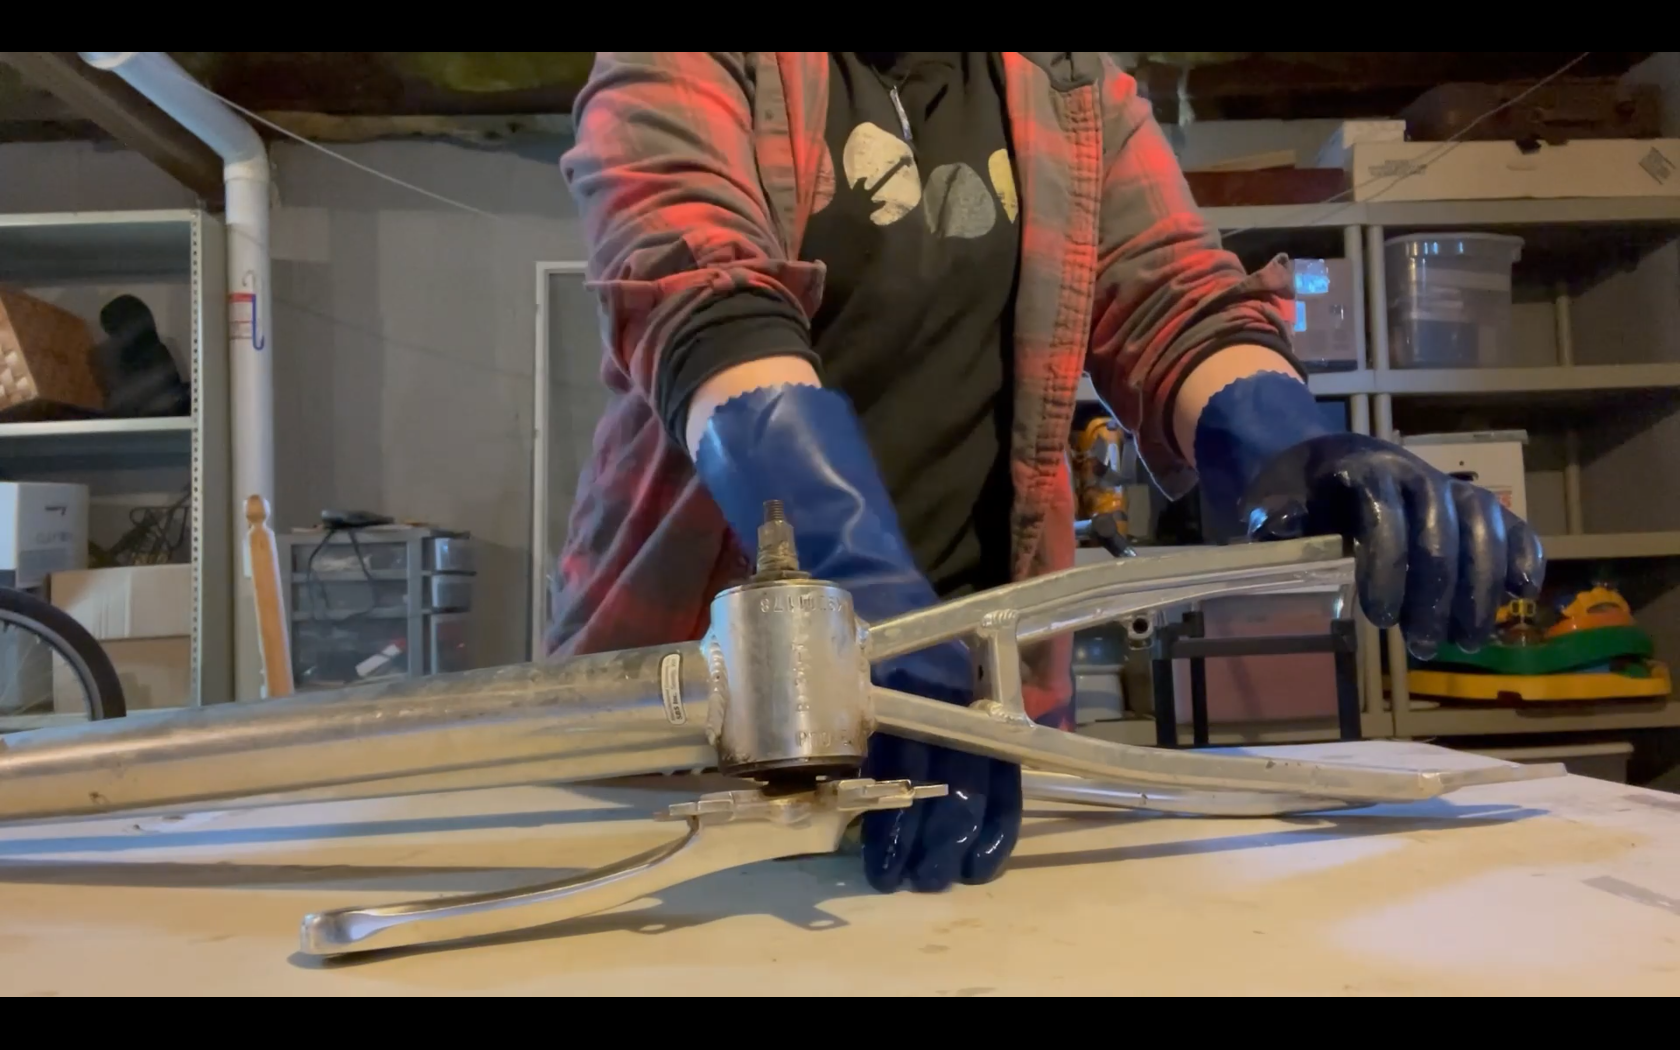
4/23/21 - Cleaning
Today, I prepped the parts for painting. I cleaned them using TSP solution. Its incredible cleaning abilities make it very toxic, requiring the use of gloves. Now they are ready to be spray painted next week.
Attachments
4/9/21 - Update
Here is a video showing the pieces that I have decided on.
Attachments
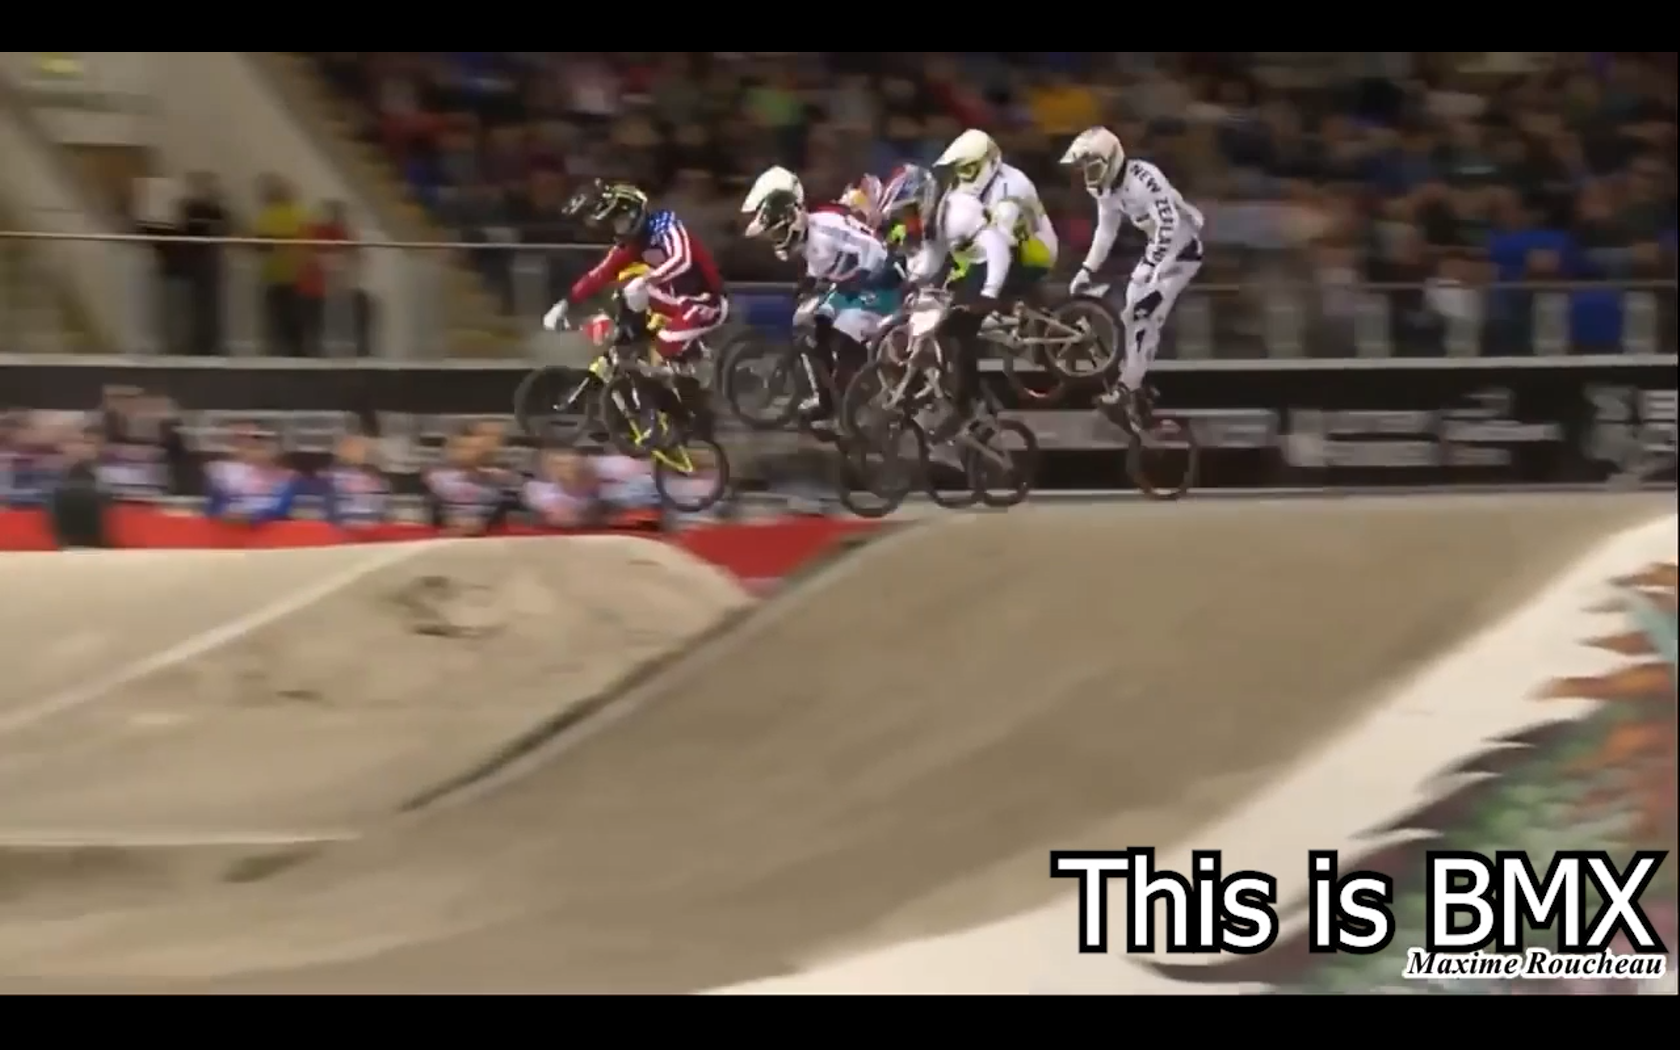
4/7/21 - Project Trailer
Today, I completed my project trailer. It can be seen on the front page of my pip, next to my logo. I strung together some footage of BMX, as well as some footage of myself, and put it all to some music. I worked on it on and off throughout the day but It all in all took me about an hour and a half-two hours.

Plan moving forward - 3/30/21
For the coming weeks, I plan to start the prepping process for the bike. I will be finalizing my choices on parts and starting to clean and sand the pieces before painting and customizing them separately, then putting all the pieces together.

3/26/21 - More Testing Vinyl
I wanted to test the vinyl on what it will actually be going on. I tested it out on my bike, which has been recently washed, sanded, and painted. It went on really nicely and stuck on.
Attachments
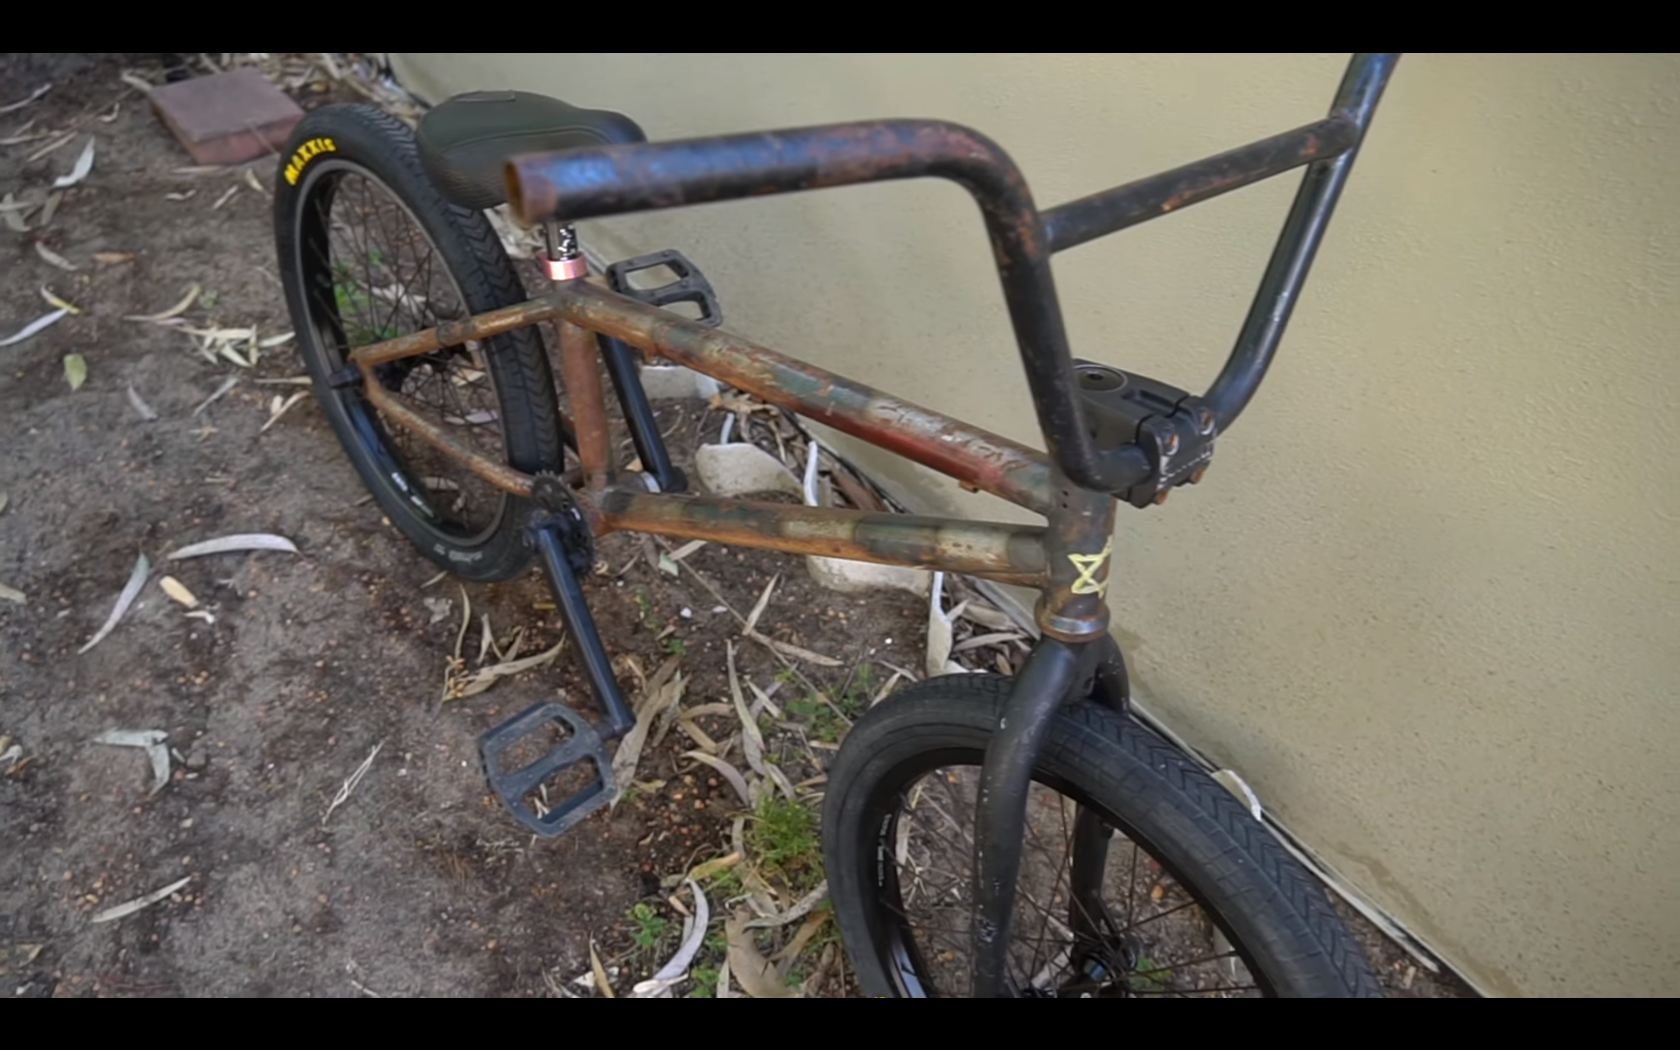
3/23/21 - Cool Video
I found this really cool video of a guy restoring a rusty BMX bike. I thought it was really cool to watch and is very similar to what I am doing for my project. Just thought I'd share. https://www.youtube.com/watch?v=a3okFKYtJgE
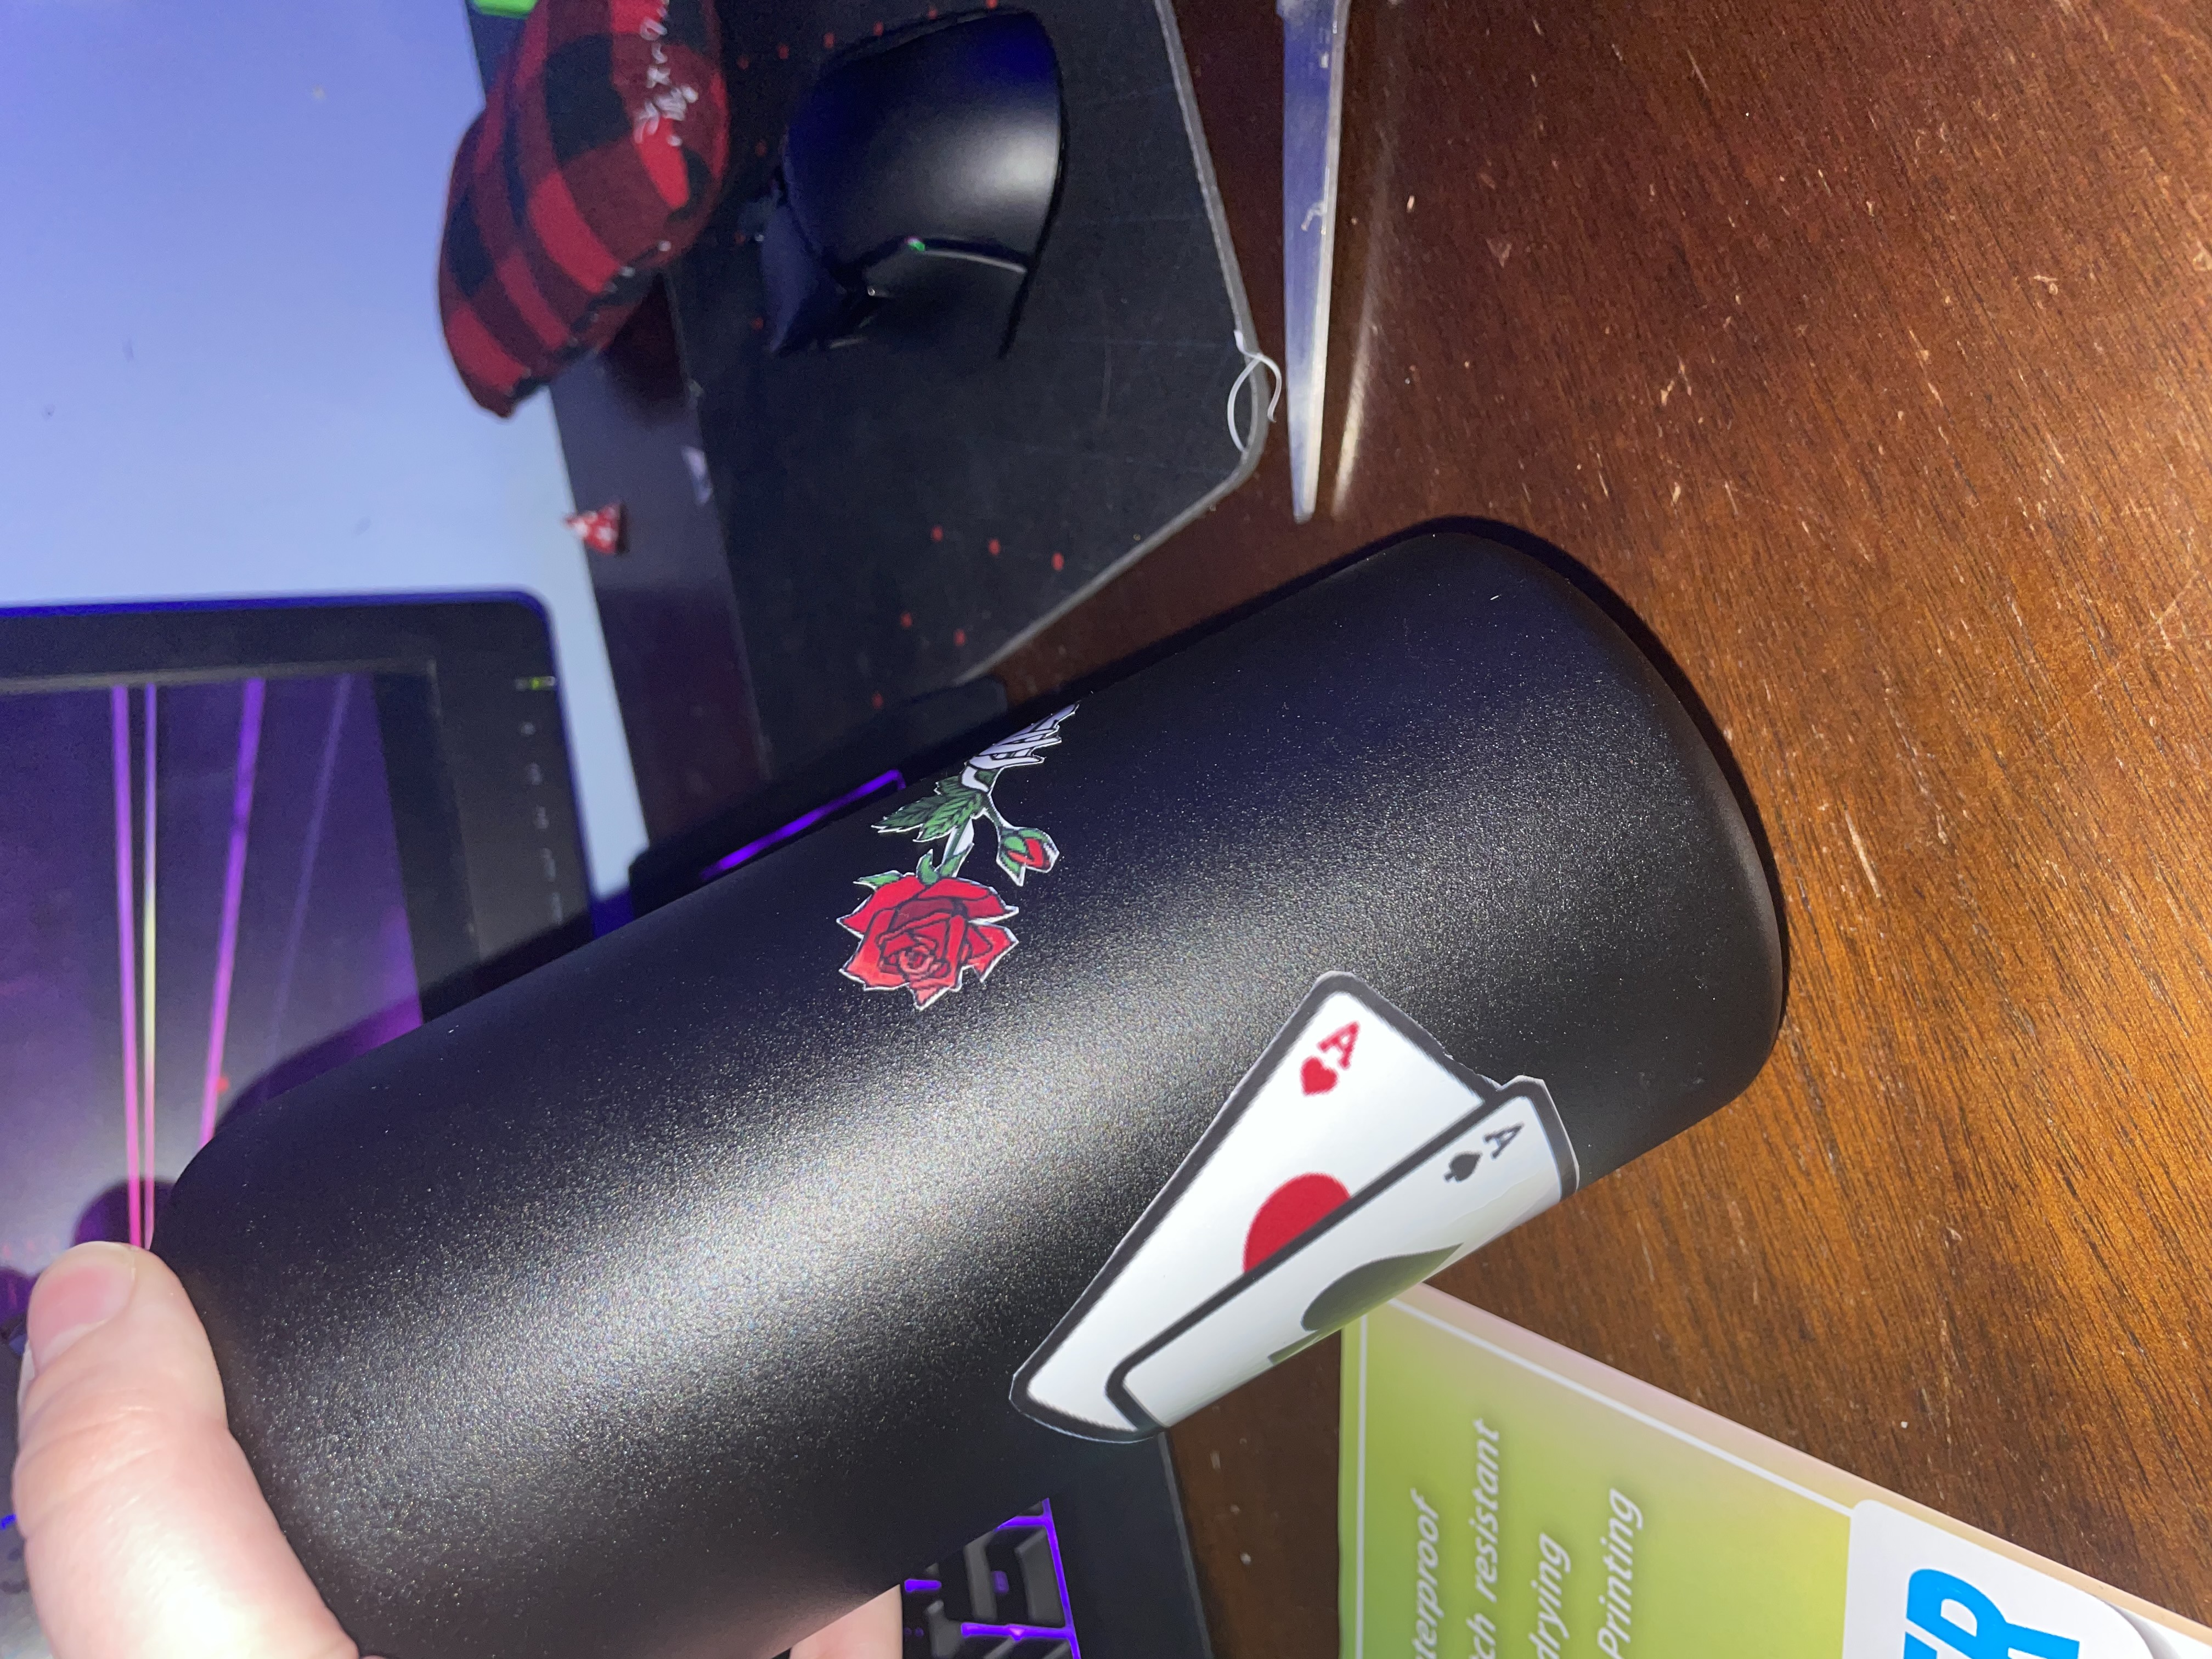
3/16/21 - Vinyl
The vinyl finally came. I wanted to test it out so I printed out some of the graphics I want to use and put them on a metal water bottle I have. The print quality was really good, cut well, and applied easily. It also looks really cool. Attached is a video of the whole process.
Attachments
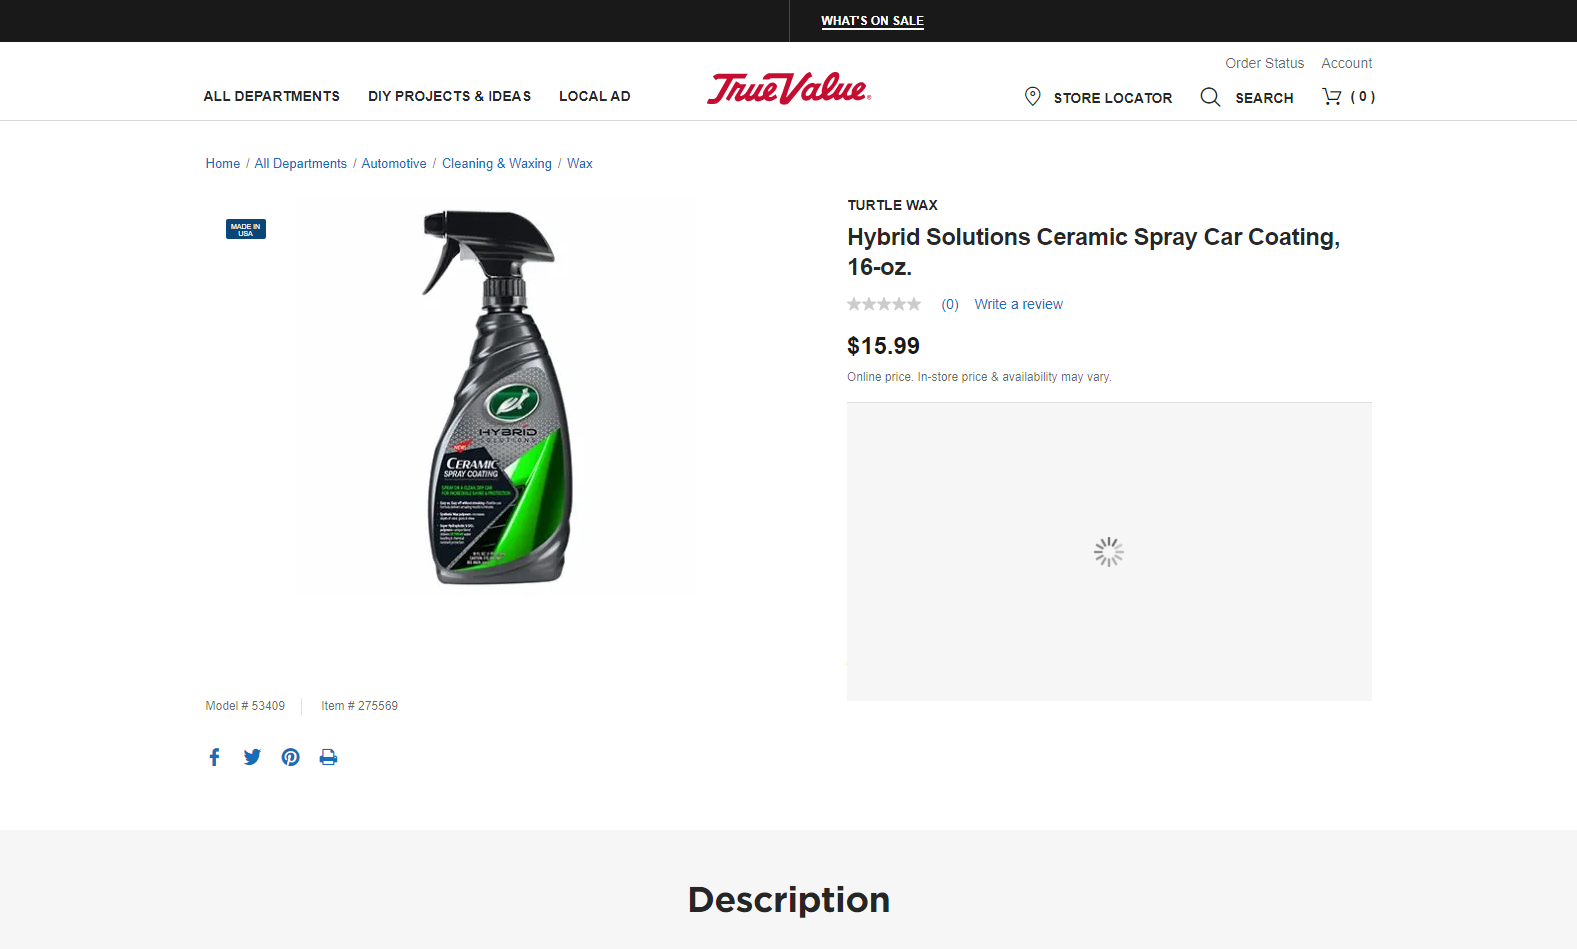
3/15/21 - Ceramic Coating
My dad recently put this ceramic coating on my snowboard and on his skis to help keep the snow off while we are riding. Usually, this is used on cars to keep off water and dirt. I'm going to put a layer of this at the very end of the design process to keep the designs on and the dirt off.
Also, update on the paper. The first package I ordered was cancelled so that is why there wasn't a post about the paper last week. I ordered another and fingers crossed it comes this time. If it does I will post about it hopefully this week.
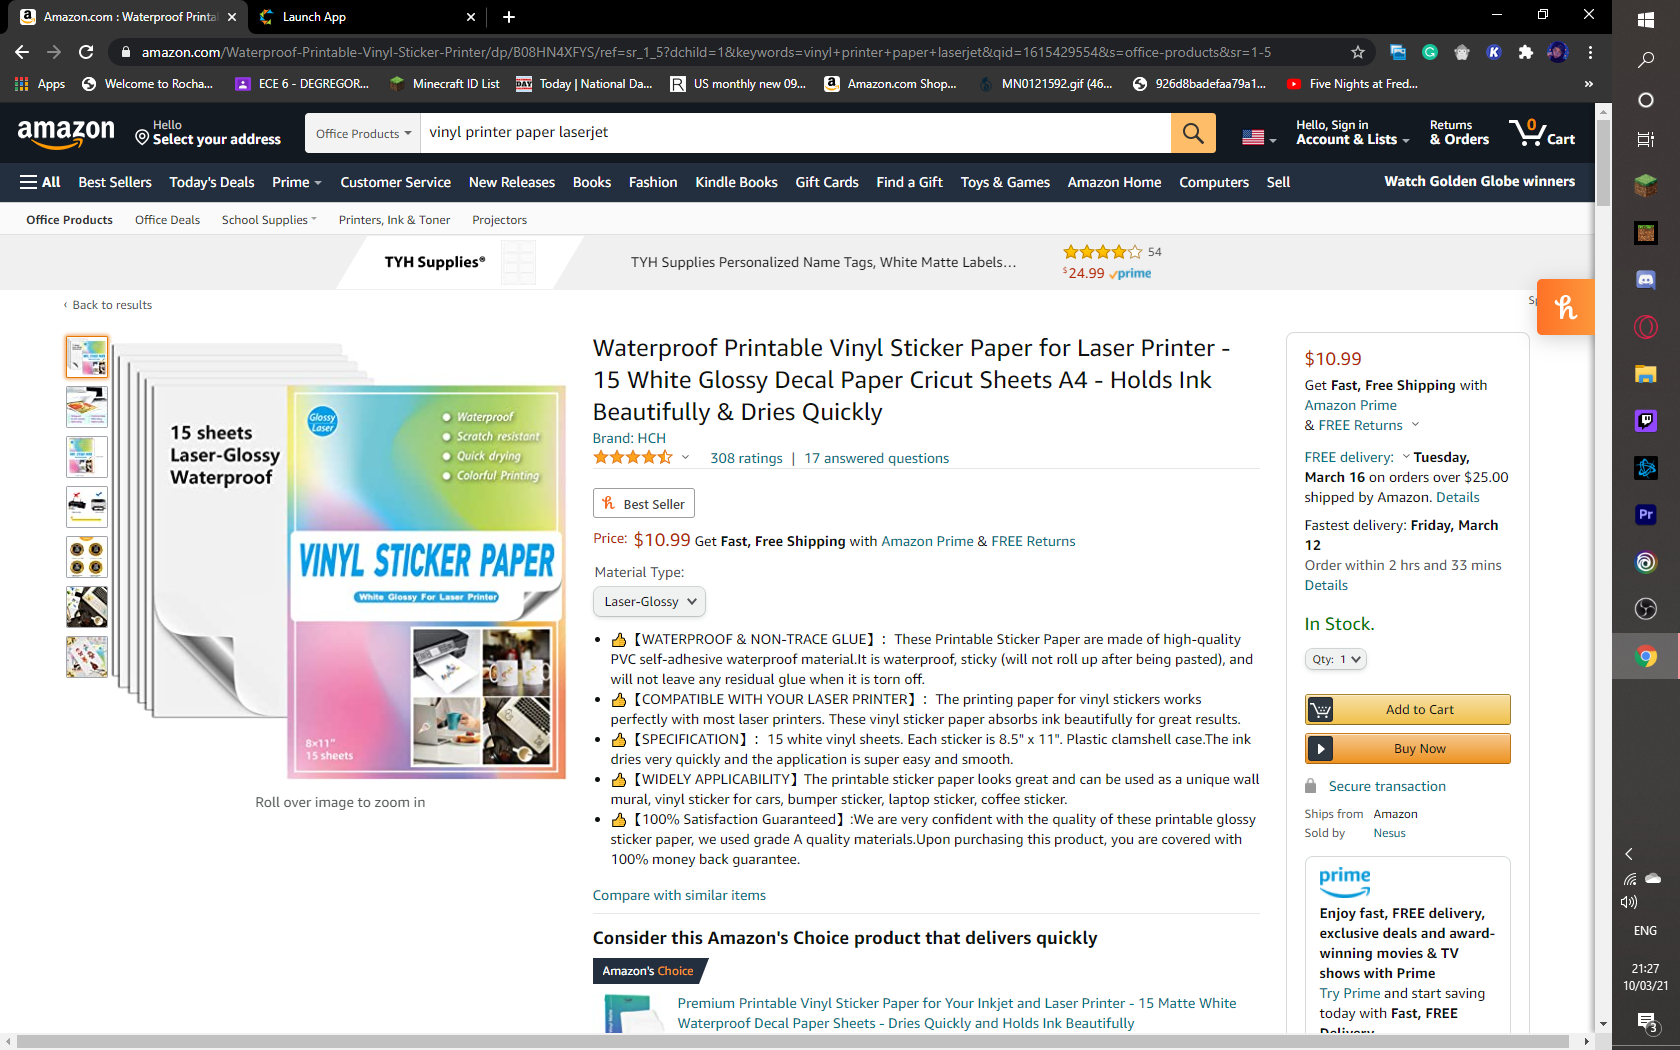
3/10/21 - New Paper
When I looked at the description for the vinyl paper that I found before, it said it required an inkjet printer. This entire time I thought that I had an inkjet printer. Turns out I actually have a laserjet printer and the paper that I found won't work with the printer that I have. So looked on amazon for paper that would work for my printer, and the attached picture is what I chose. I will be ordering it right after I publish this post. I want to test to make sure that this will work and if not I still have time to find another option or think of a different strategy.
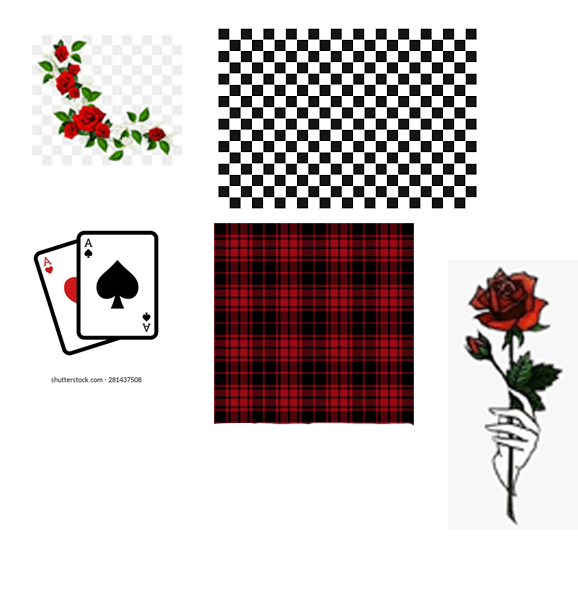
3/3/21 - Graphics
I want to give a quick rundown of the graphics that I will be using for the bike. Besides the ones that I've shown in previous videos in photoshop, I have also added a few here. I also had an idea to do change some of the areas on the frame from where I had the checkerboard pattern to the red plaid that you see in the picture. I think the bit of red in the frame will look really nice, plus I really like the pattern.
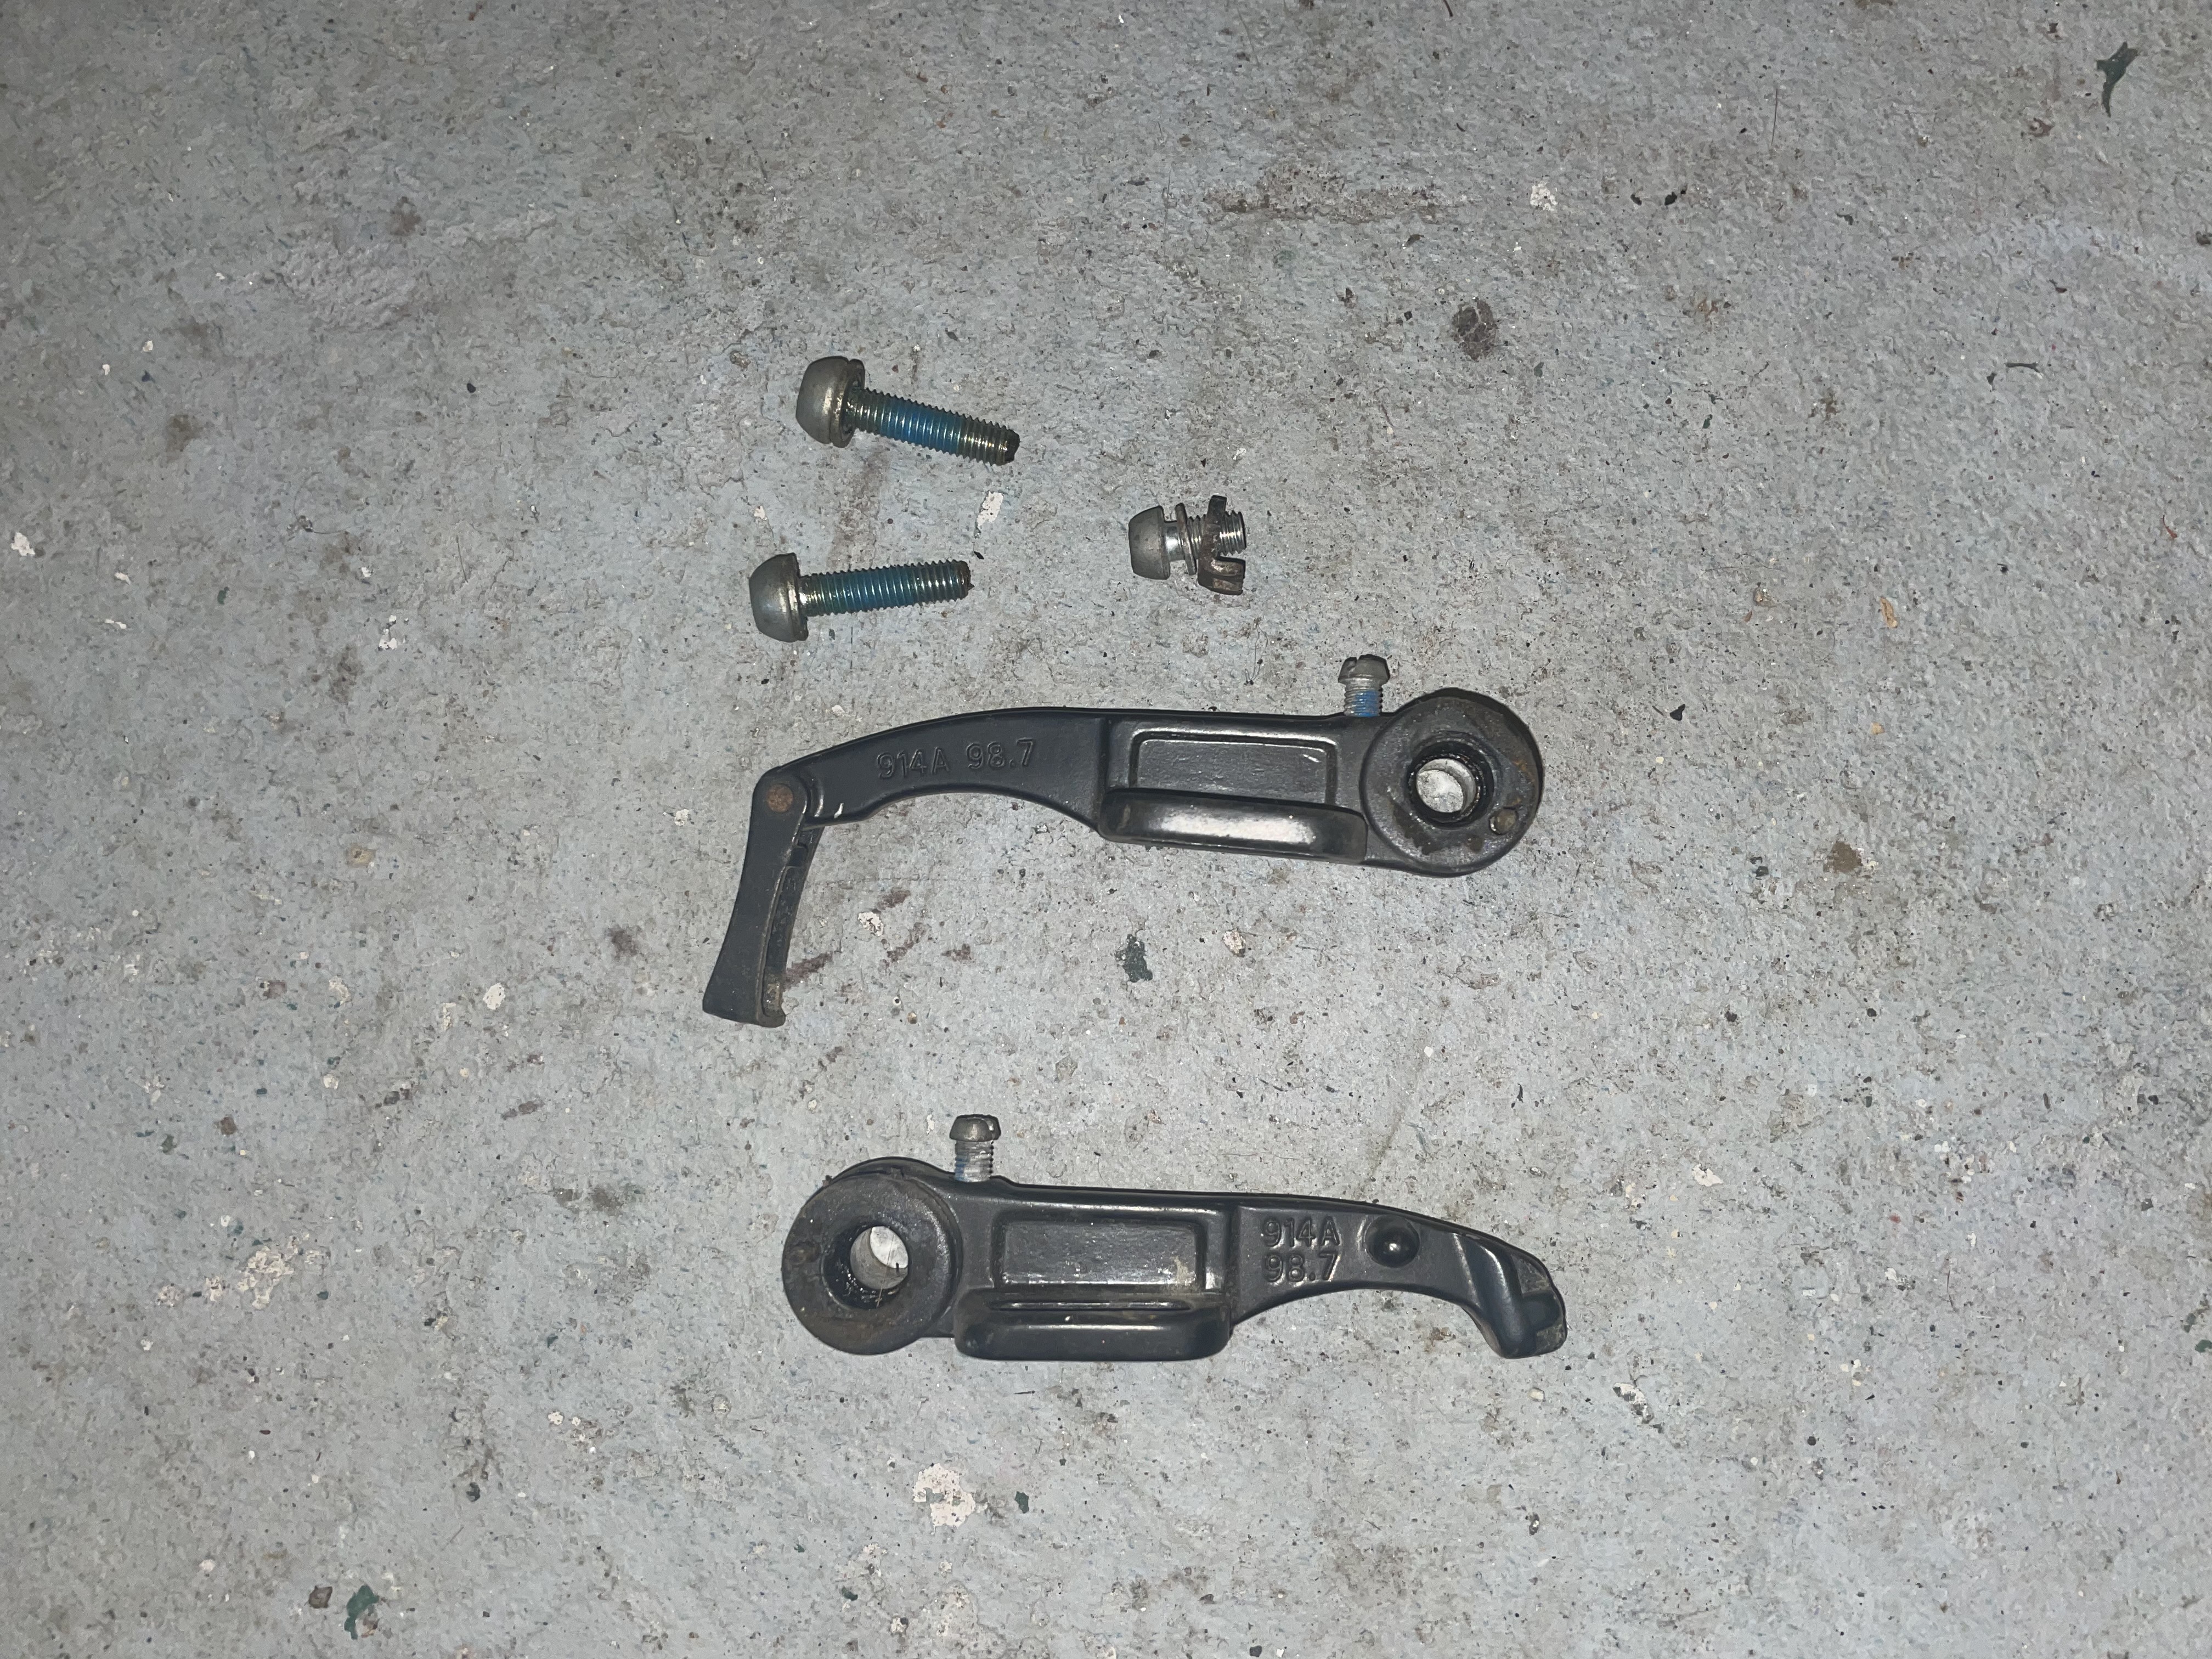
26/02/21 - Brakes
Today, I disabled and disconnected the brakes from one of my bikes. The thing about BMX bikes is that they only have rear brakes. So it made it a lot easier to only have to remove one set of brakes, instead of a complex system of two. In the video attached I explain how the brakes work, and how I disconnected them.
Attachments
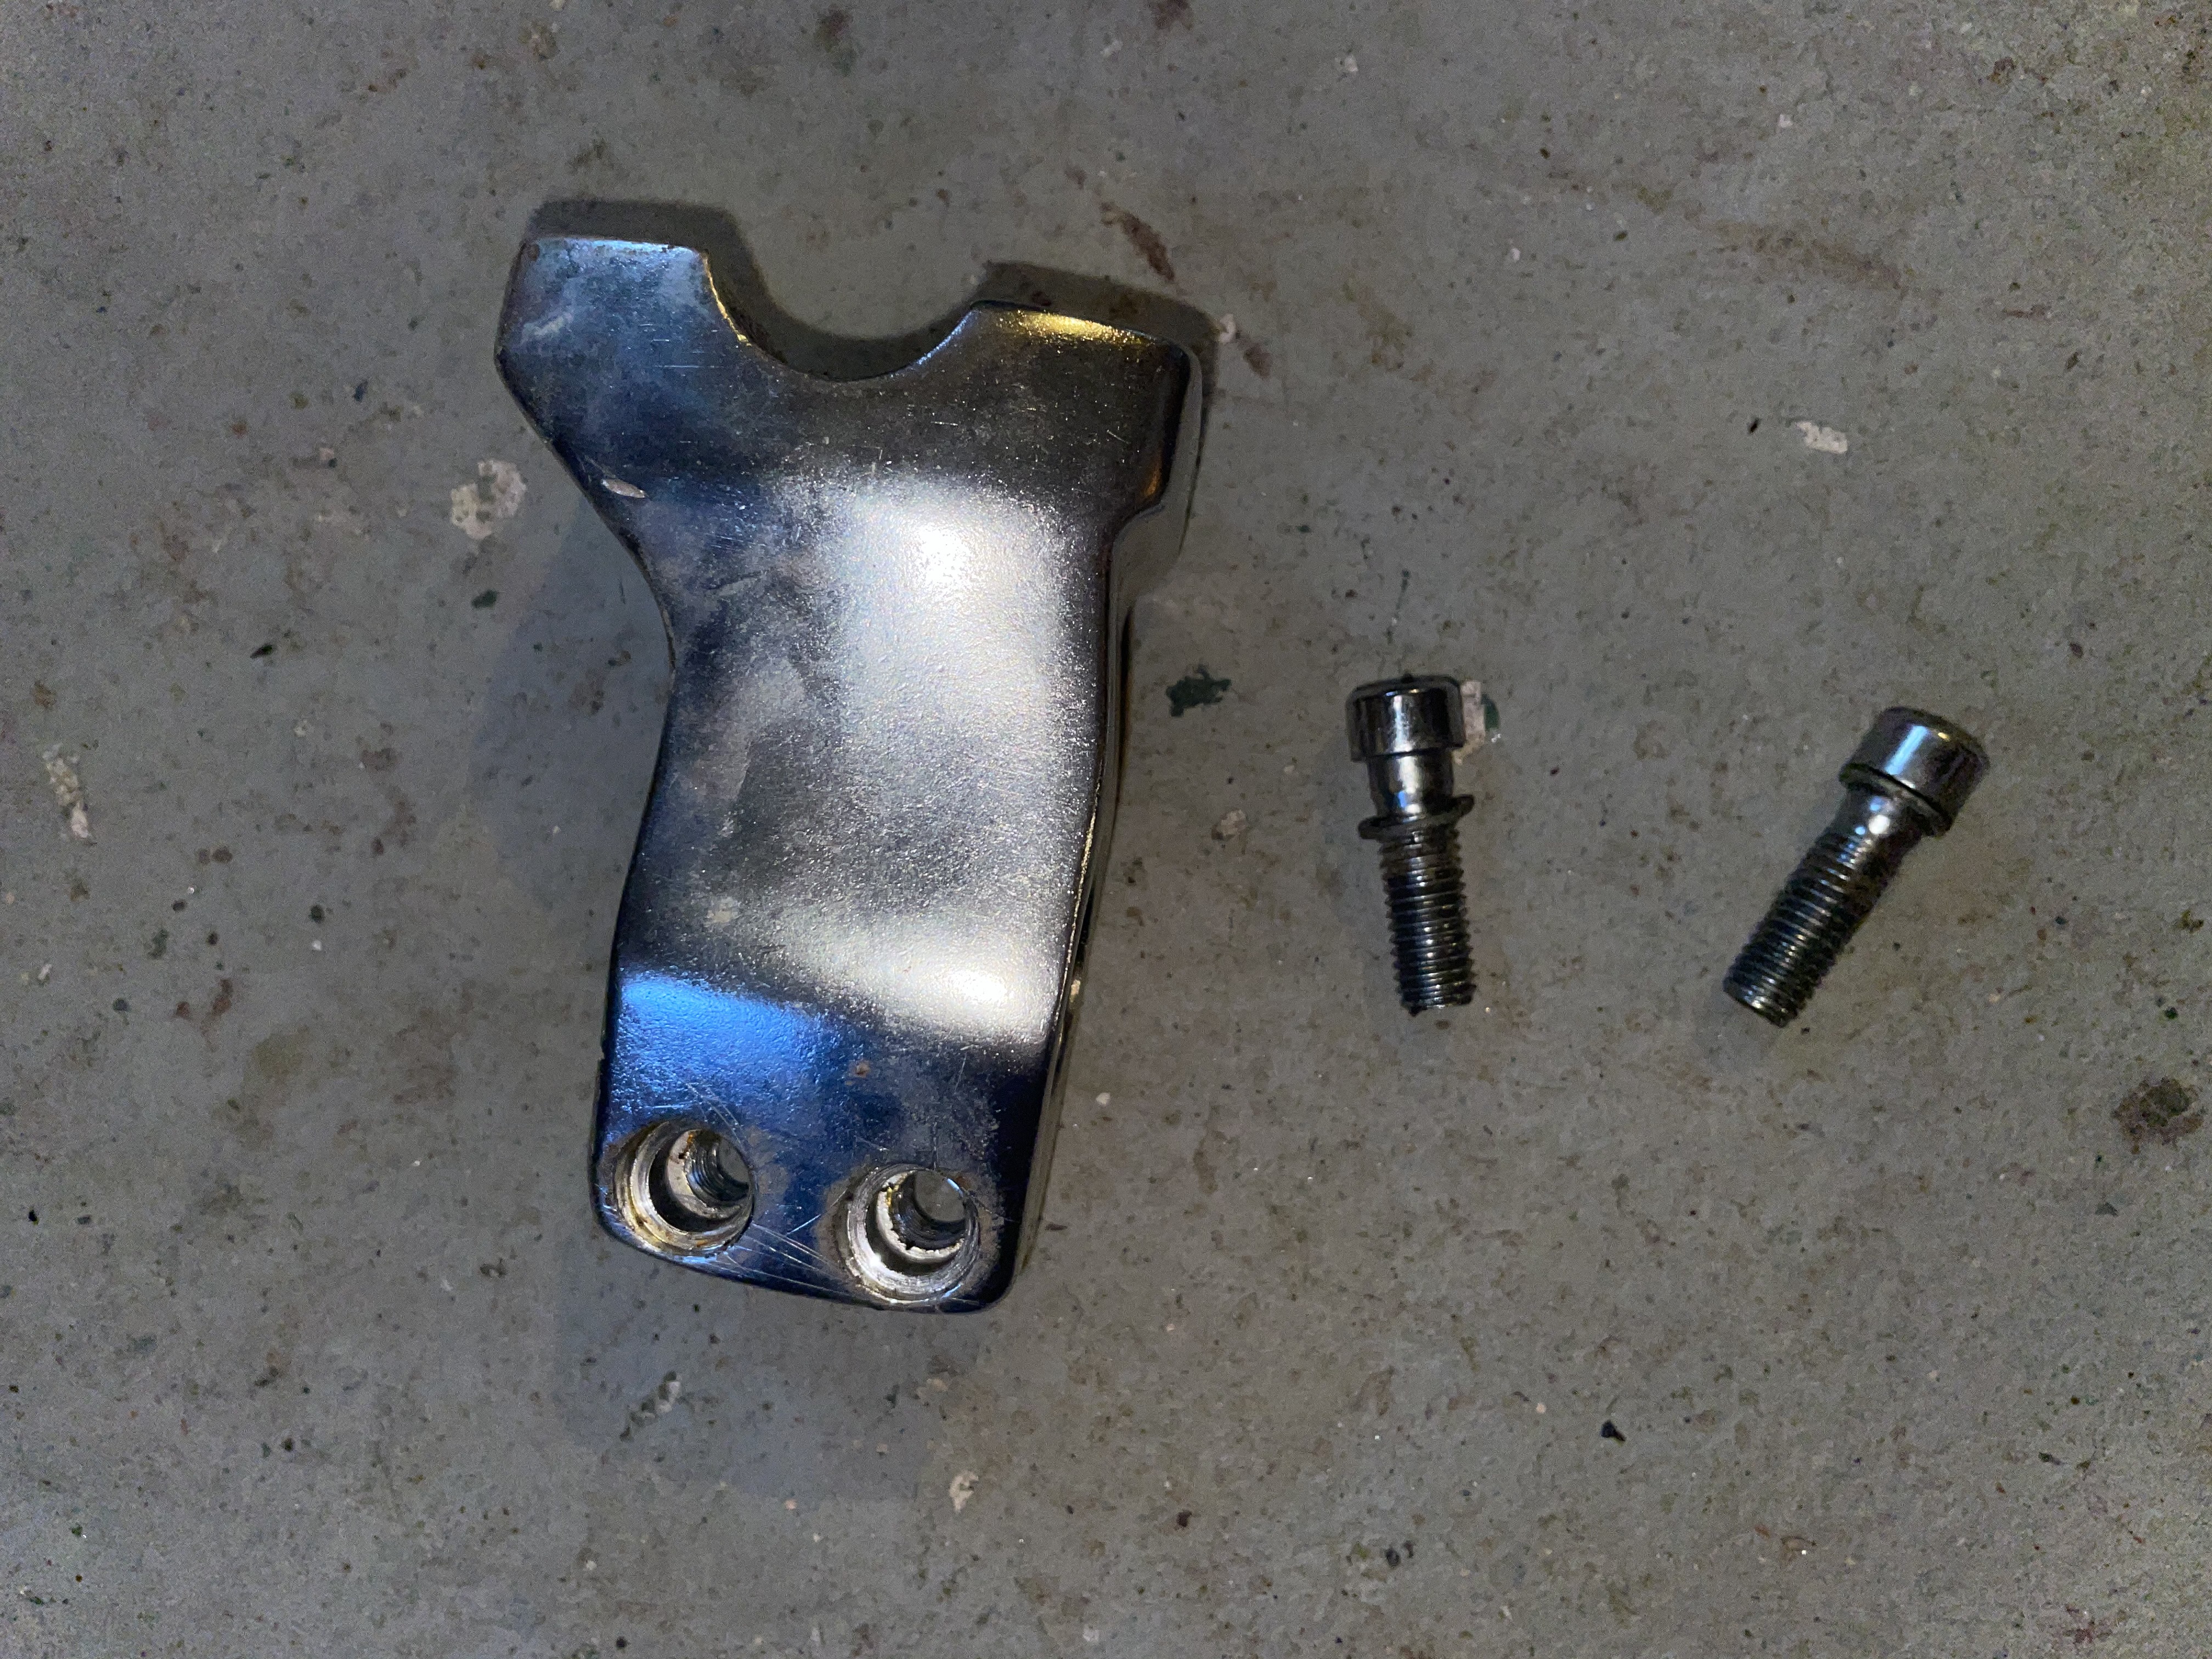
2/25/21 - The Rustiest Bolts Ever
Today, I removed the headpiece off another bike that I had. These were the rustiest bolts I've ever had to remove. It took me nearly 20 minutes to get them to move a millimetre. Eventually, they did move, and I was able to remove the headpiece.
Attachments
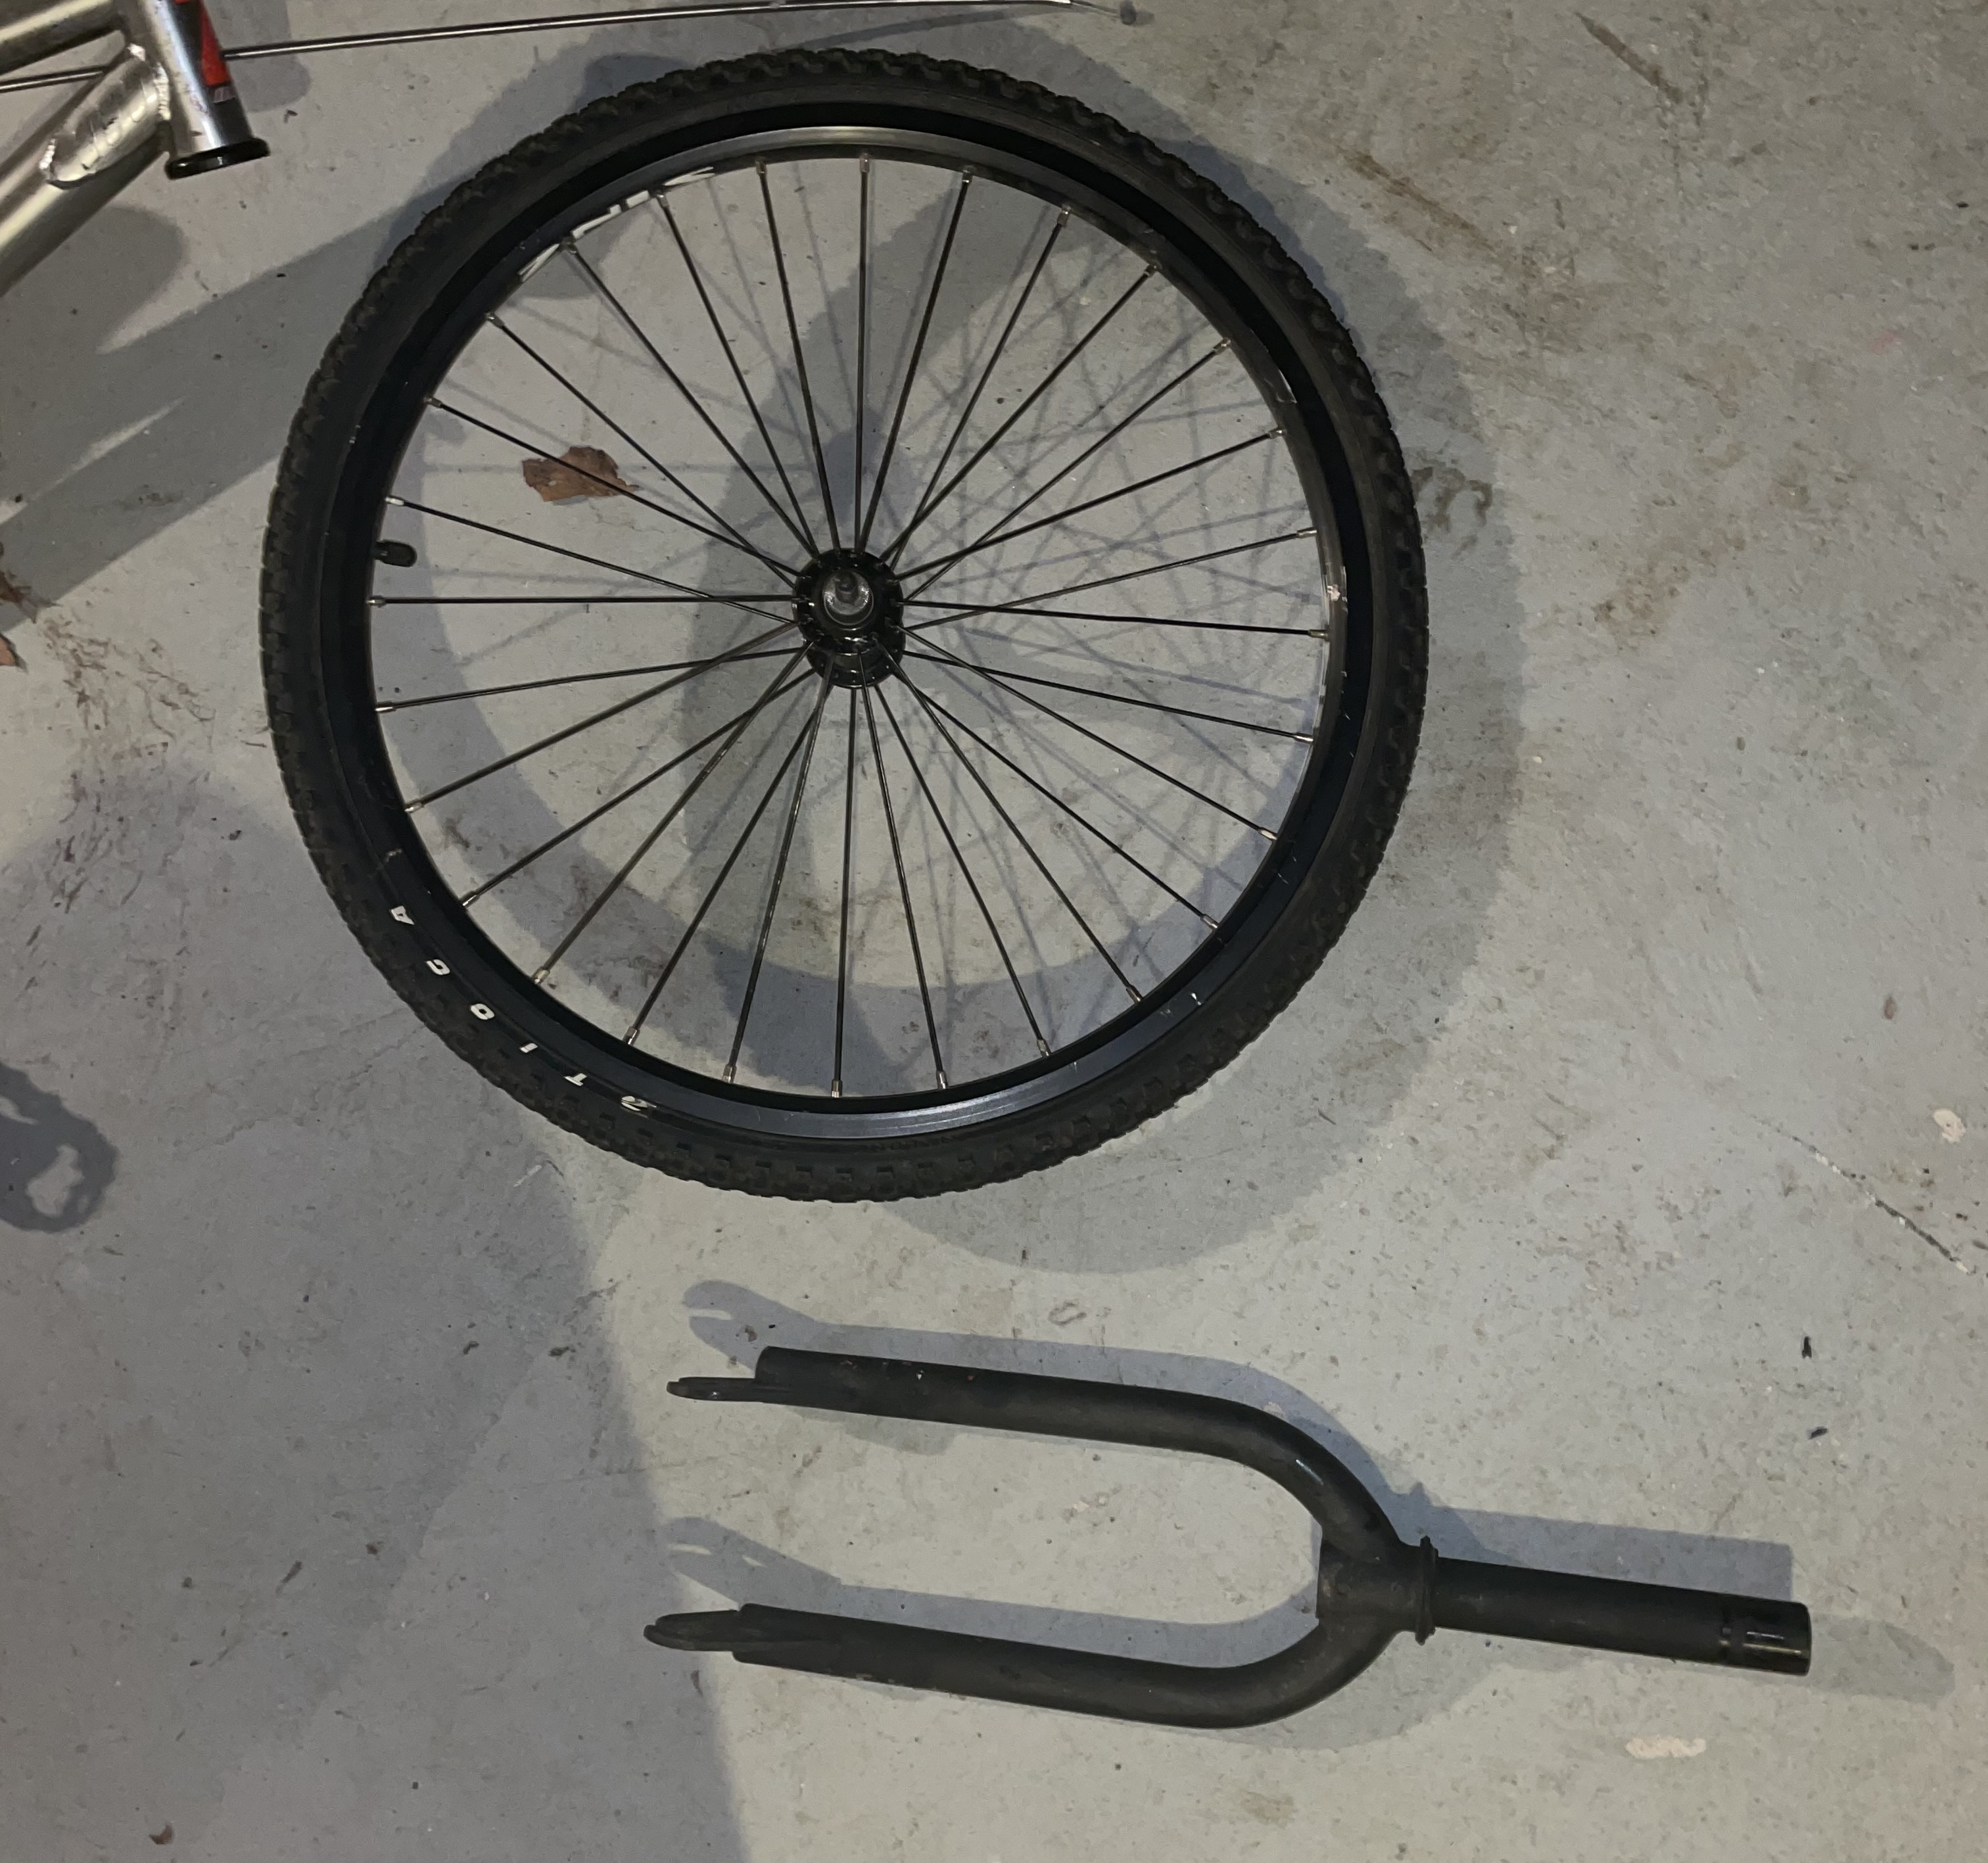
2/19/21 - Front Tire
Last week, I removed the bars and the headpiece, and tonight I removed the front tire, detaching it from the forks and the rest of the frame.
Attachments
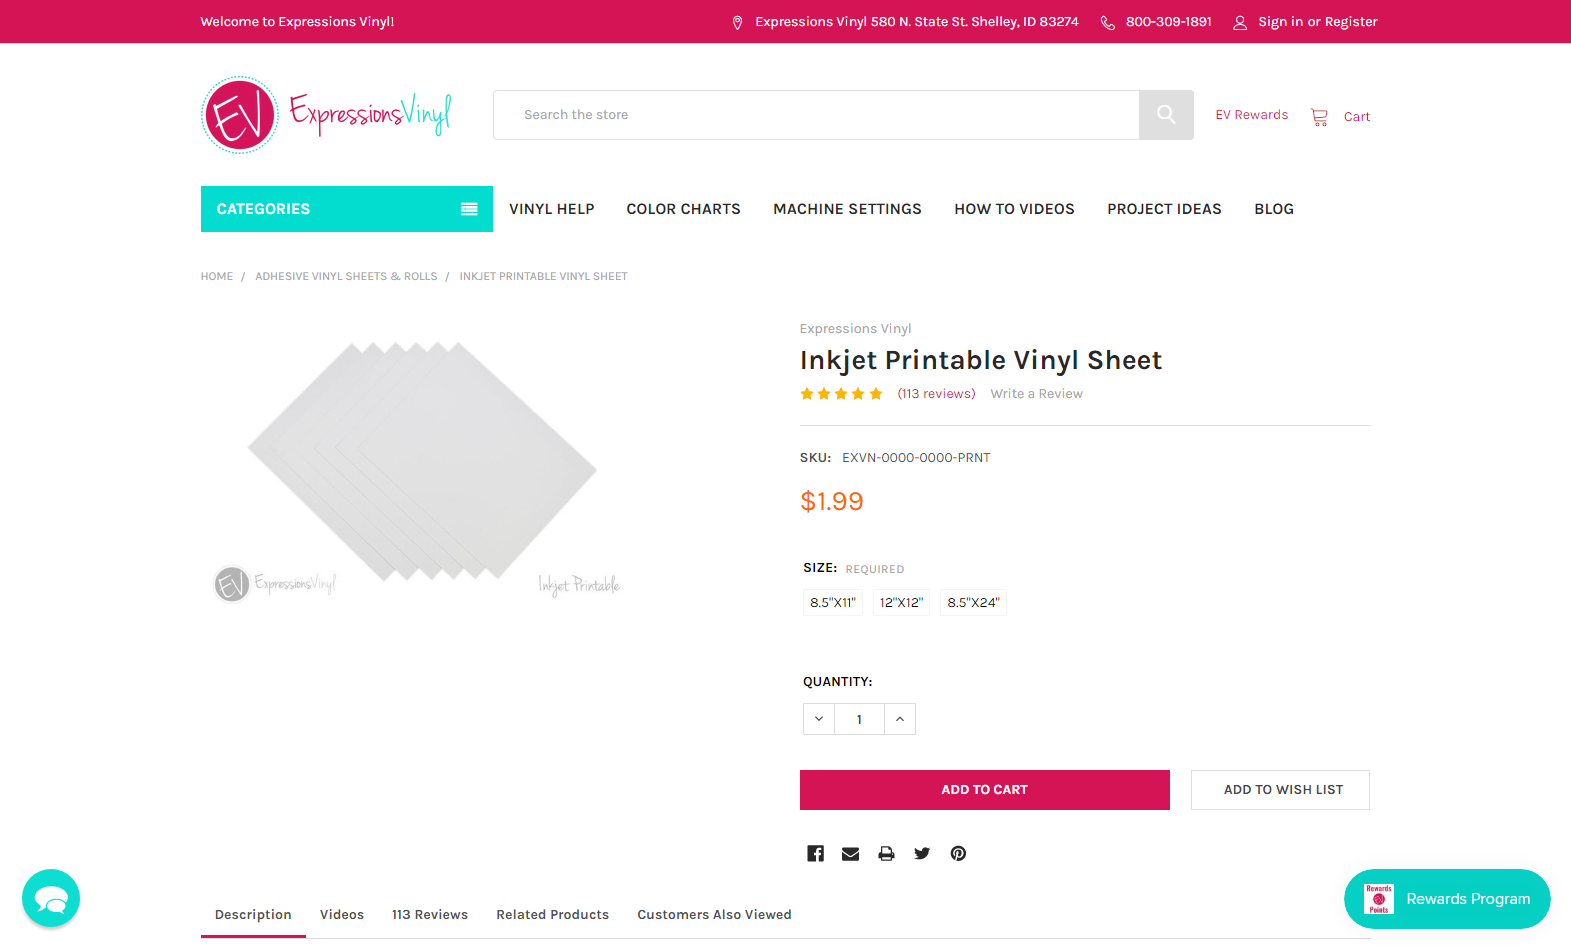
2/18/21 - Vinyl Paper
Recently, I got a vinyl wrap for my snowboard. It was a big piece of vinyl, that had an adhesive backing, and stuck to the board. On it was a new design. And It got my thinking. The most simple option for getting the designs and graphics on the bike at the end would be to print out the graphics on vinyl printer paper and wrap them onto the parts. Almost like label paper for printers. I found this company that sells exactly that. Printer paper, that is vinyl, that I can print the graphics I want onto it, and wrap it onto the bike. The picture attached just shows the product listing, but here is the link to the actual website. https://expressionsvinyl.com/inkjet-printable-vinyl-sheet/
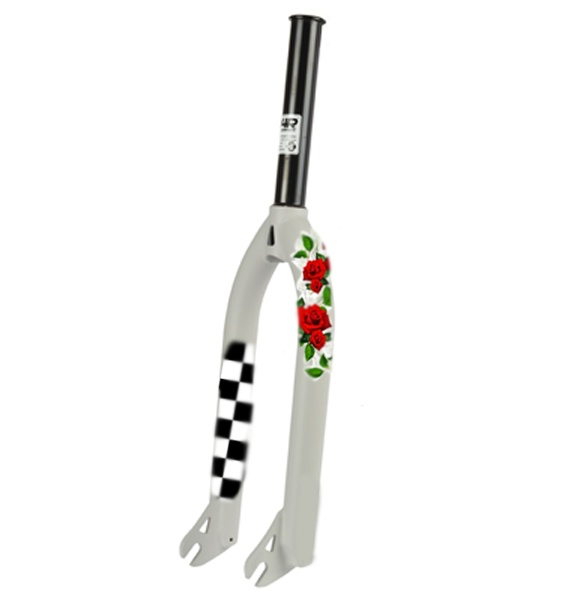
2/11/21 - Forks
This is the last design that I had to do for building the visual concept of the bike. These are how I envision the forks to be. The attached video shows how I made these, following the same process as the bars, frame, and cranks.
Attachments
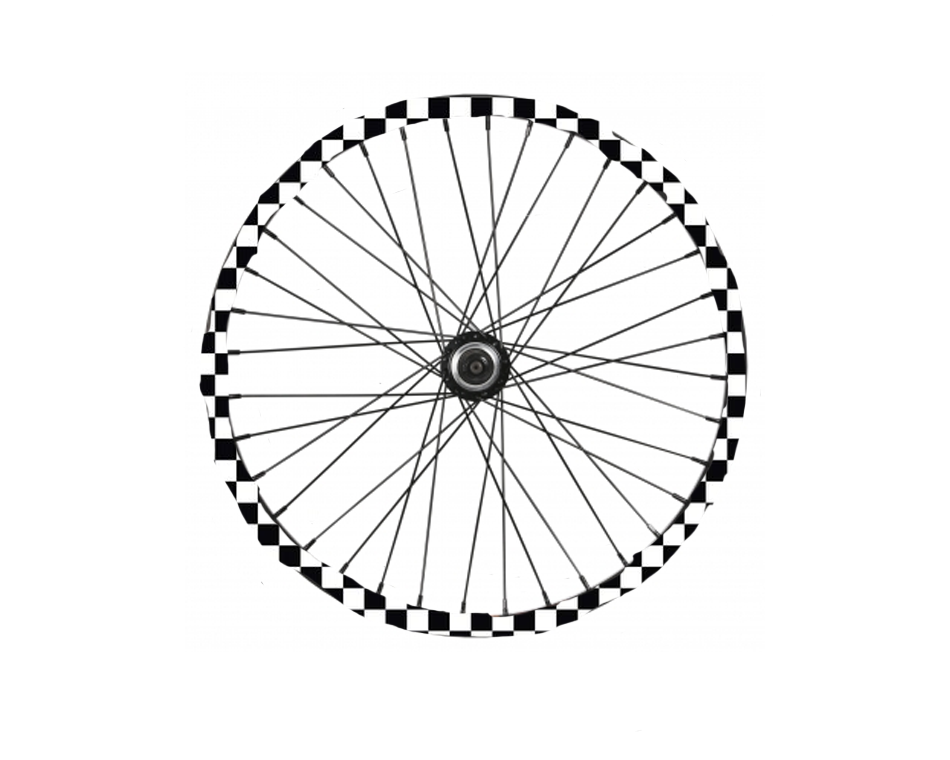
2/10/21 - Wheels
Today, I designed how I want the wheels to be. I want just the outer rim of the wheel to be a checkerboard pattern. The video attached shows and explains how I did this. Obviously, both wheels will be the same, even though I only show me editing one.
Attachments
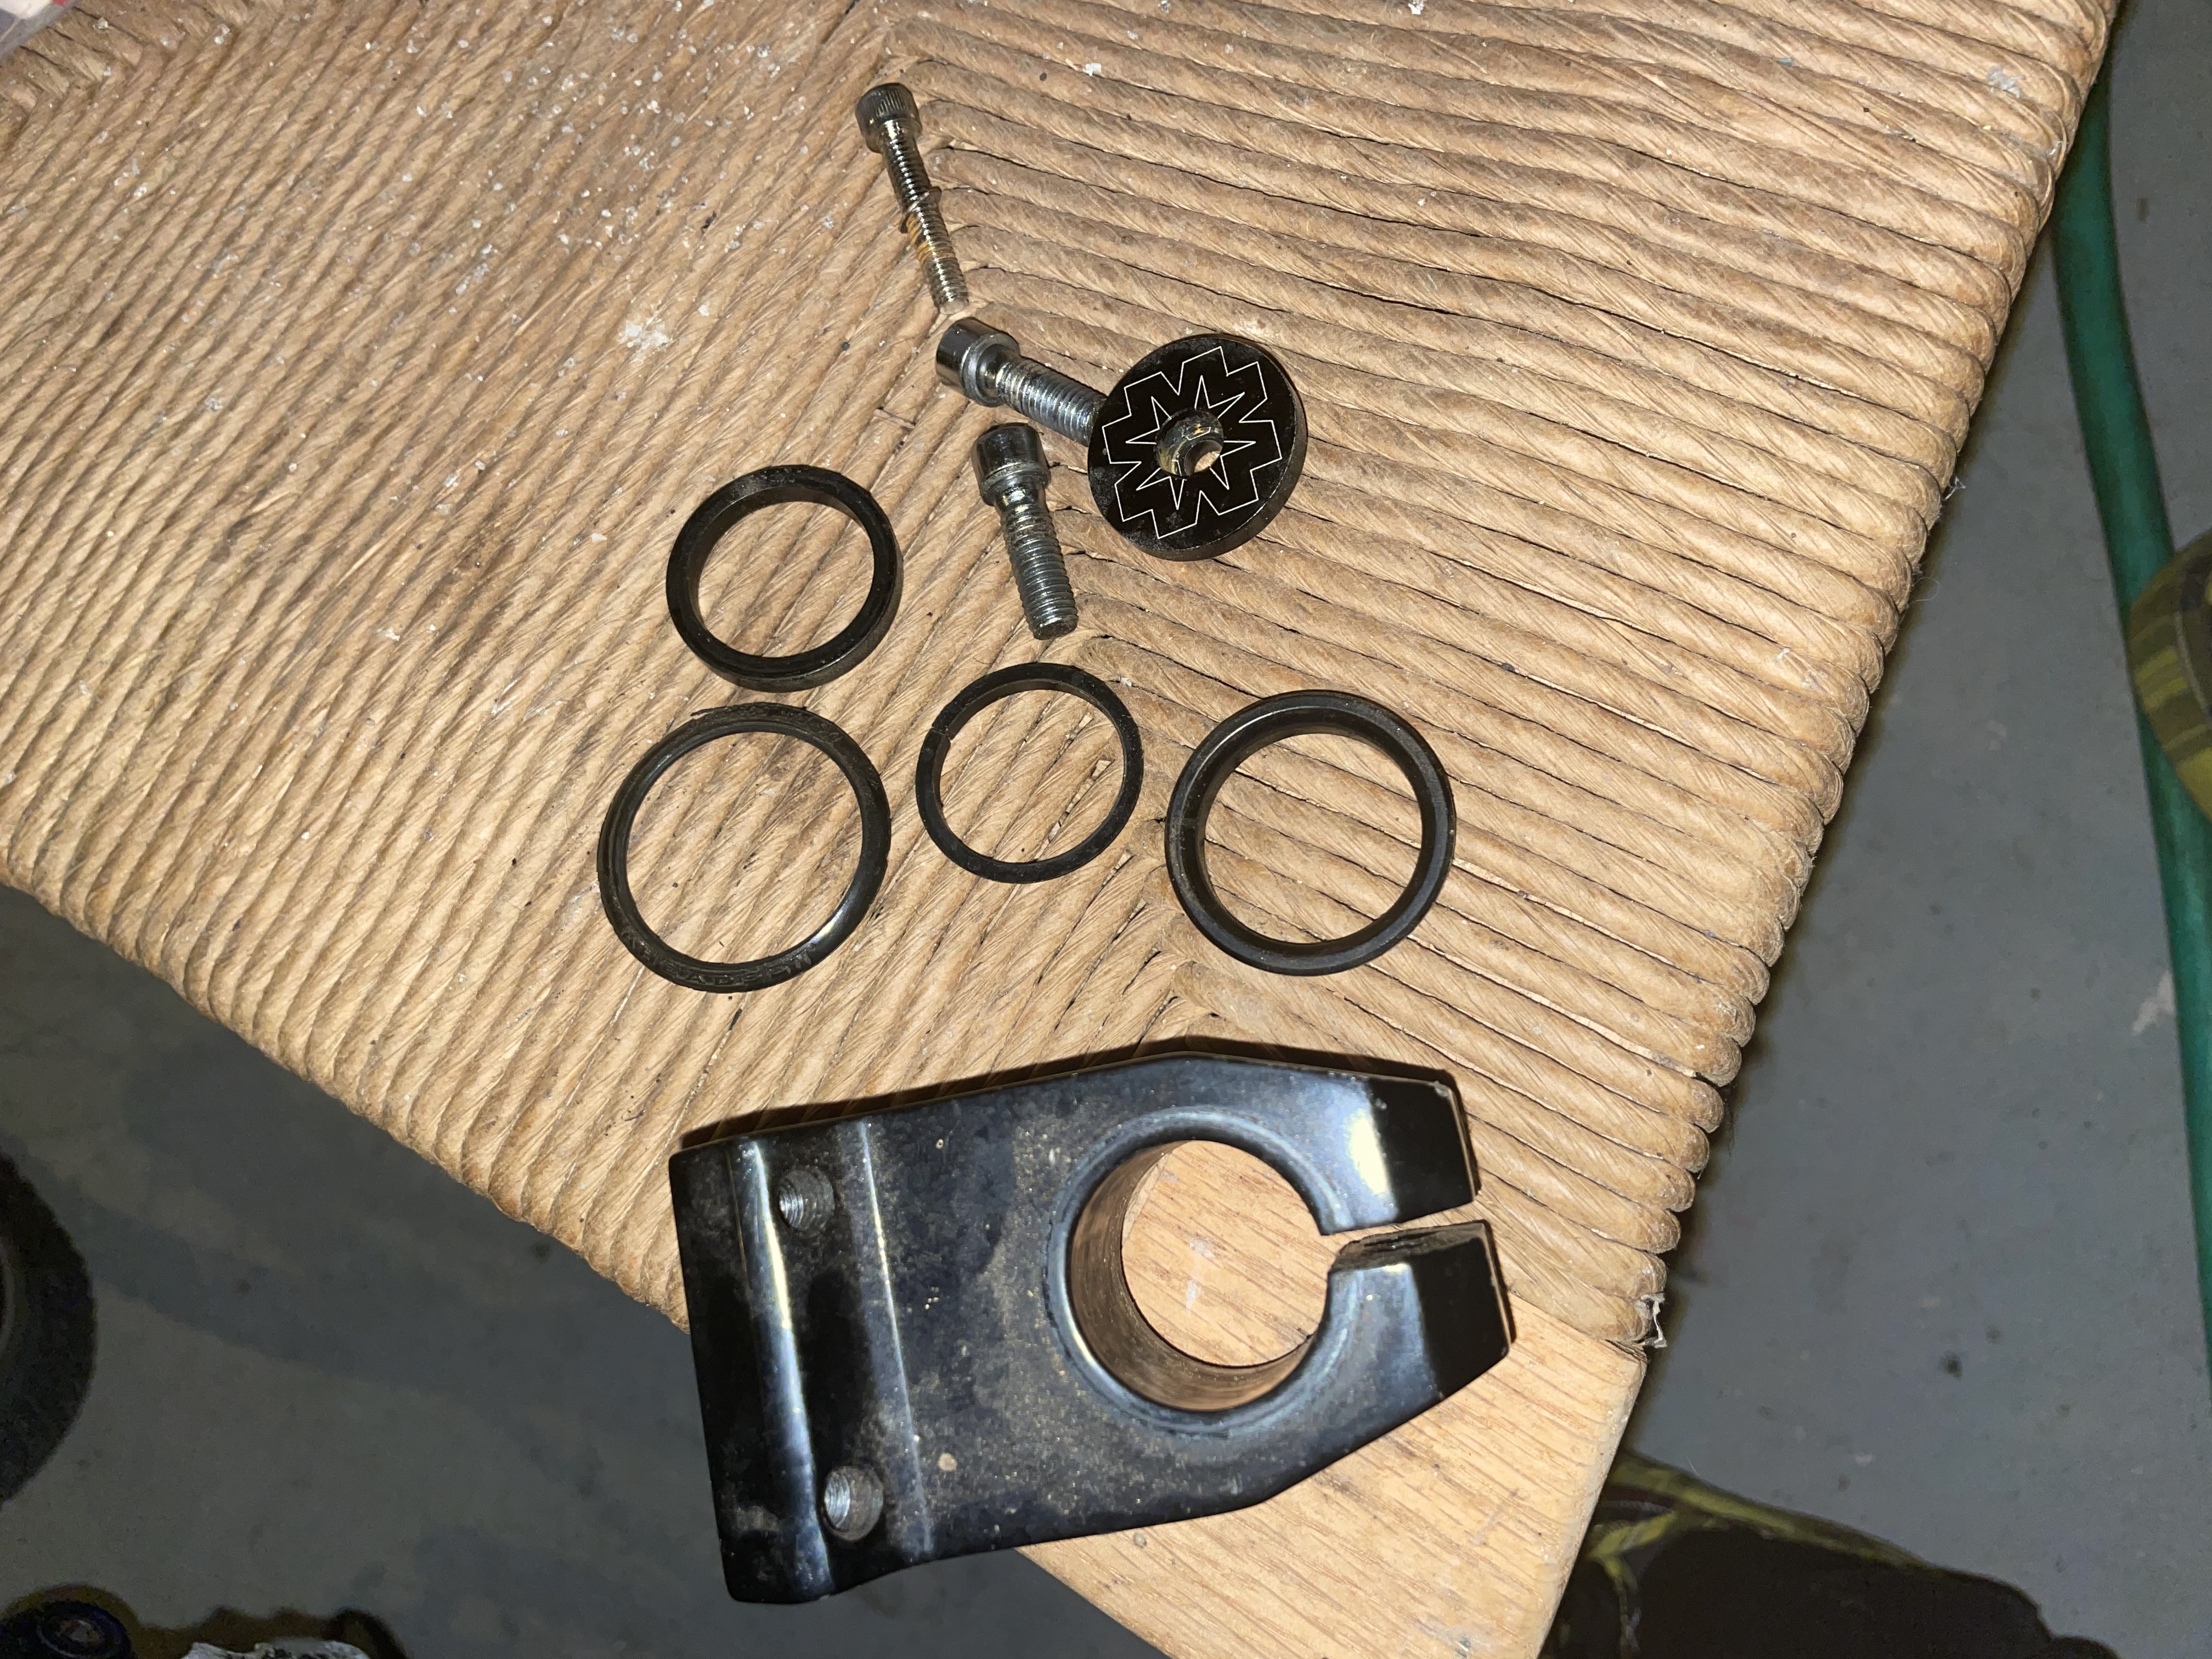
2/5/21 - Headpiece
In the video attached, I remove the headpiece on one of the bikes I have. This is the piece that attaches to the top of the fork and is what the handlebars attach to.
Attachments
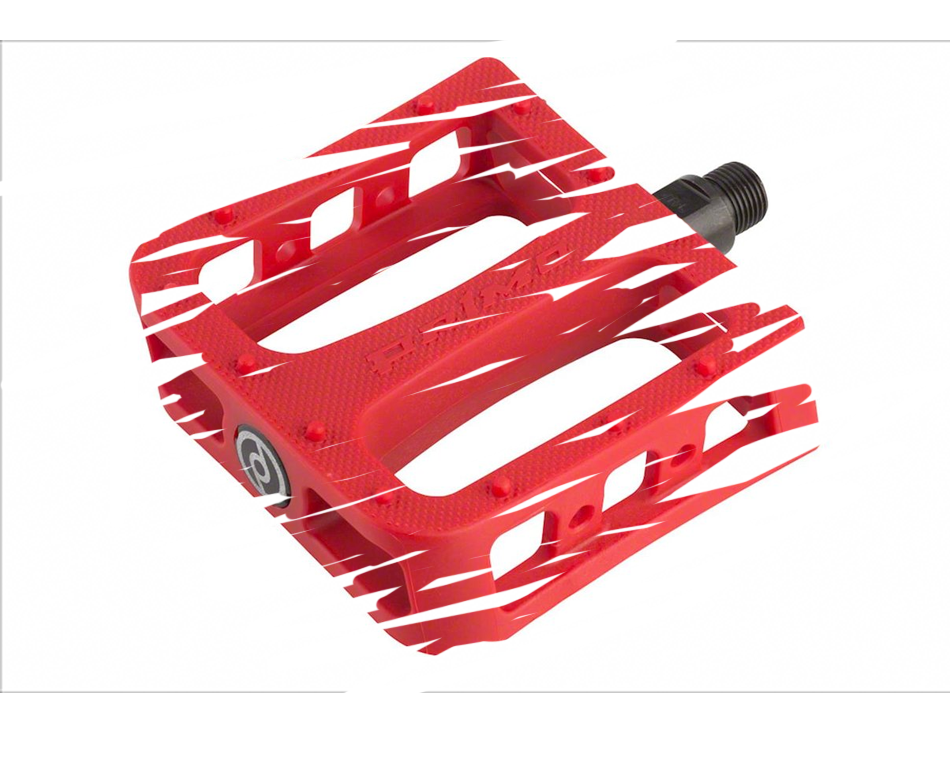
2/4/21 - Pedals
In the video attached, I show how I designed these pedals that I will put on the bike. It is explained in the video but how I did this was first pasting a picture of the pedal as the background and then putting just a white box on top of it. I then erased the bike box, revealing the pedal behind it, creating this kind of stroke/splatter effect. I couldn't decide whether I wanted to have the pedals be black or red, so I did both and decided that I wanted them to be red. I think they will look the best, also providing the other parts of the bike that have already been designed.
Attachments
1/29/21 - Sandpaper
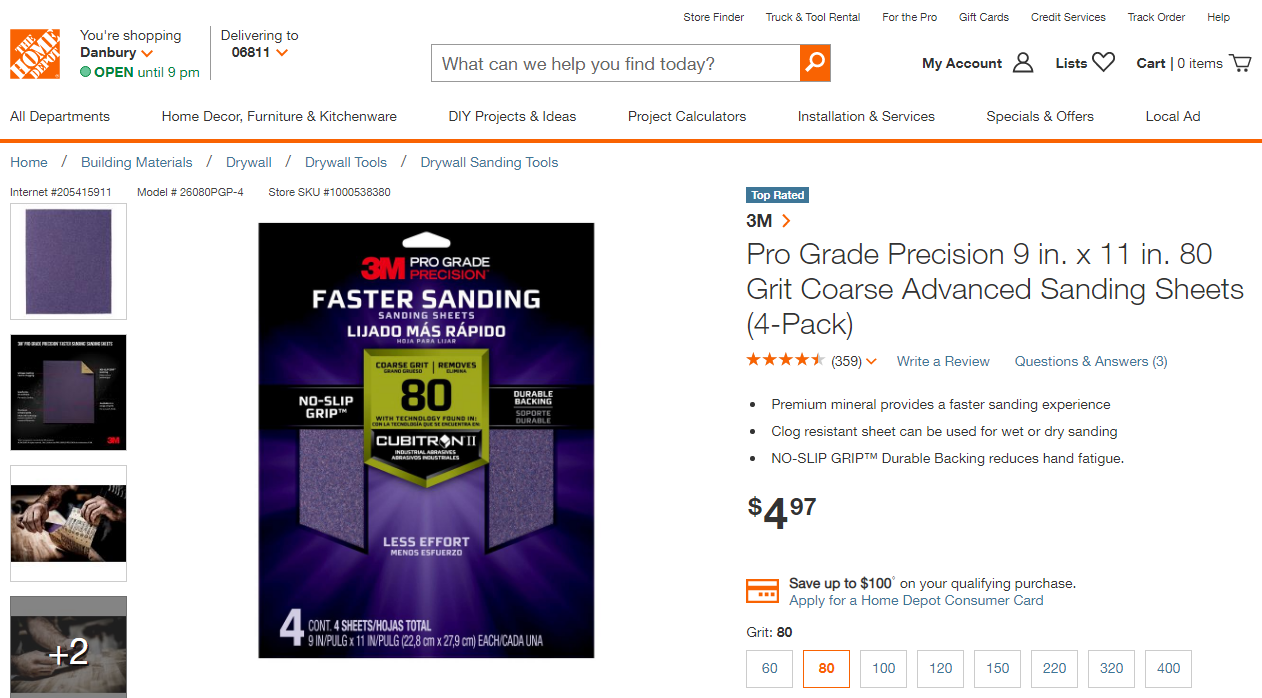
When I go to paint the bike towards the end, I will need to sand down the parts so the paint has a nice surface to stick to. I did this a couple months ago with my race bike. The process consisted of wiping down any dirt, water, grease, etc. on the part, then sanding down the part so the paint has a rough surface to stick to, as well as sanding off any color that was previously on it. In that case I was just re-uping the white on the bike, but for this project, I will be painting the frame and bars a completely different color. The bars are black and the frame is silver, and they will both be painted white. Then we hung the parts up and spray painted them with about 2-3 coats. Then after a couple days of them drying we put the parts back onto the bike. One thing that I will have to keep in mind when I paint them, is to block up any holes where the part attaches to another part, because if paint gets in there and dries, the part wont connect correctly and it will be a nightmare to get the paint out without possibly damaging the part or scratching off the paint I just put on. In this picture is the sandpaper I will need for sanding metal. This is the one I used last time. I will most likely buy it from either Home Depot, as in the picture, or my local hardware store, which ever has it in stock when I need it. I prices are about the same.
1/27/21 - Disassembling
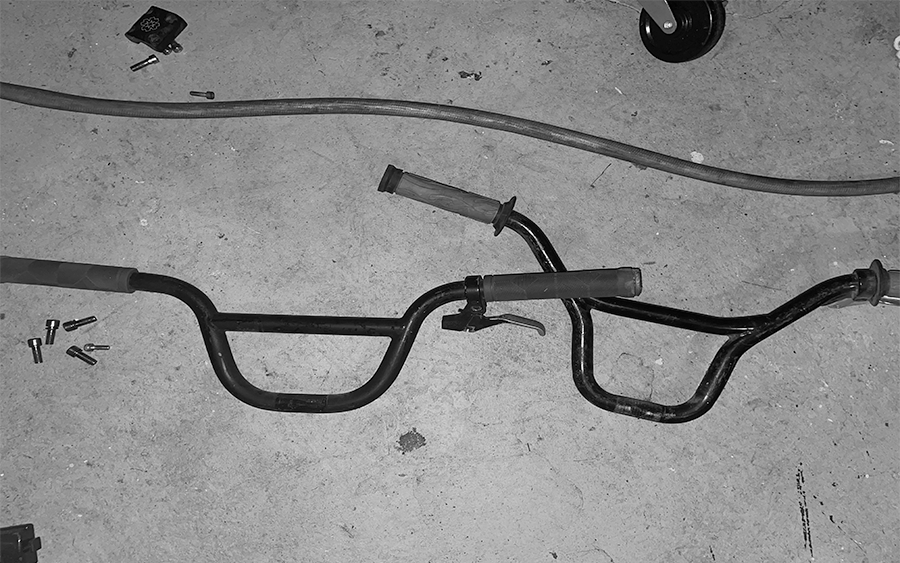
In the photo above are the two bars that I removed in the video attached. These are the two most likely candidates for bars that I will use for the final bike.
Attachments

1/21/21 - Frame Prototype
In this video, I do some more work in photoshop. This time I created the frame. I wanted to make the effect of the checkered pattern coming through the white paint as if it was behind it. I tried to emulate that as best I could in photoshop.
Attachments
1/15/21 - Prototype
I started to do some playing around in photoshop to bring forth the visual concept of some of the parts of the bike. Here is just a quick timelapse of me creating the prototype of the cranks and handlebars(in the video it shows me editing only one crank, but both cranks will be the same).
Attachments

1/13/21 - Tires/Bike Explanation
(Pictures for this post are in the attached document, as there are more than one)
In this post, there are three pictures. Two of them are pictures of the tires that I have available to me that I could use, besides the tires that are already on the bikes that are built.
The third picture is my bike that I have been using for about 2 years now. This bike is different than the bikes you are probably used to seeing or have. This is a 20" Race or BMX bike. The 20" referring to the tire size, which in BMX your tires cannot be more than 20". This bike also only has one gear and only rear brakes. They are also not full suspension bikes. This will be what the final product will look like, but with just different colours and designs.
Attachments
1/8/21 - Spray Paint
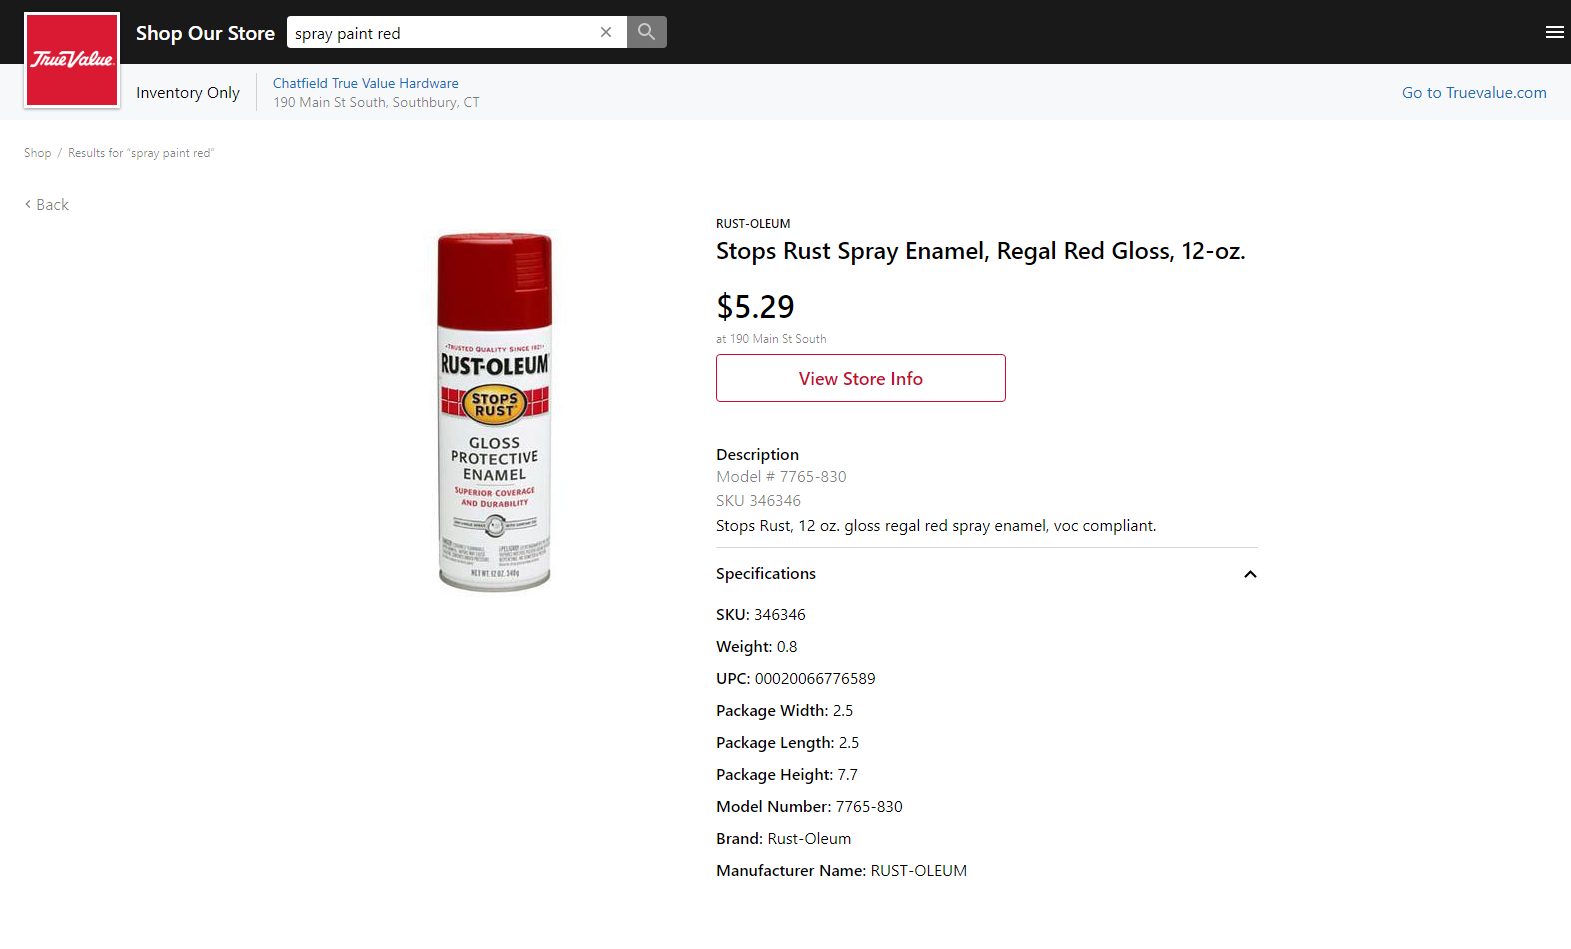
Today, I looked at the spray paint that I will be using to paint the bike. This particular brand I've used in the past on my bike and it has worked well. It stuck to the bike easily, didn't come off, scratch or chip, even after falling on the asphalt, and looks really clean. The colour palette for the bike will be red, black, and white. I also plan to do some freehand paintings around the frame, cranks, and handlebars as well.

1/7/21 - Inventory
In this video, I explain the bikes that I have available for parts and which parts I will use. I also explain the parts of the bike for more clarification on what I'm referencing.
Attachments
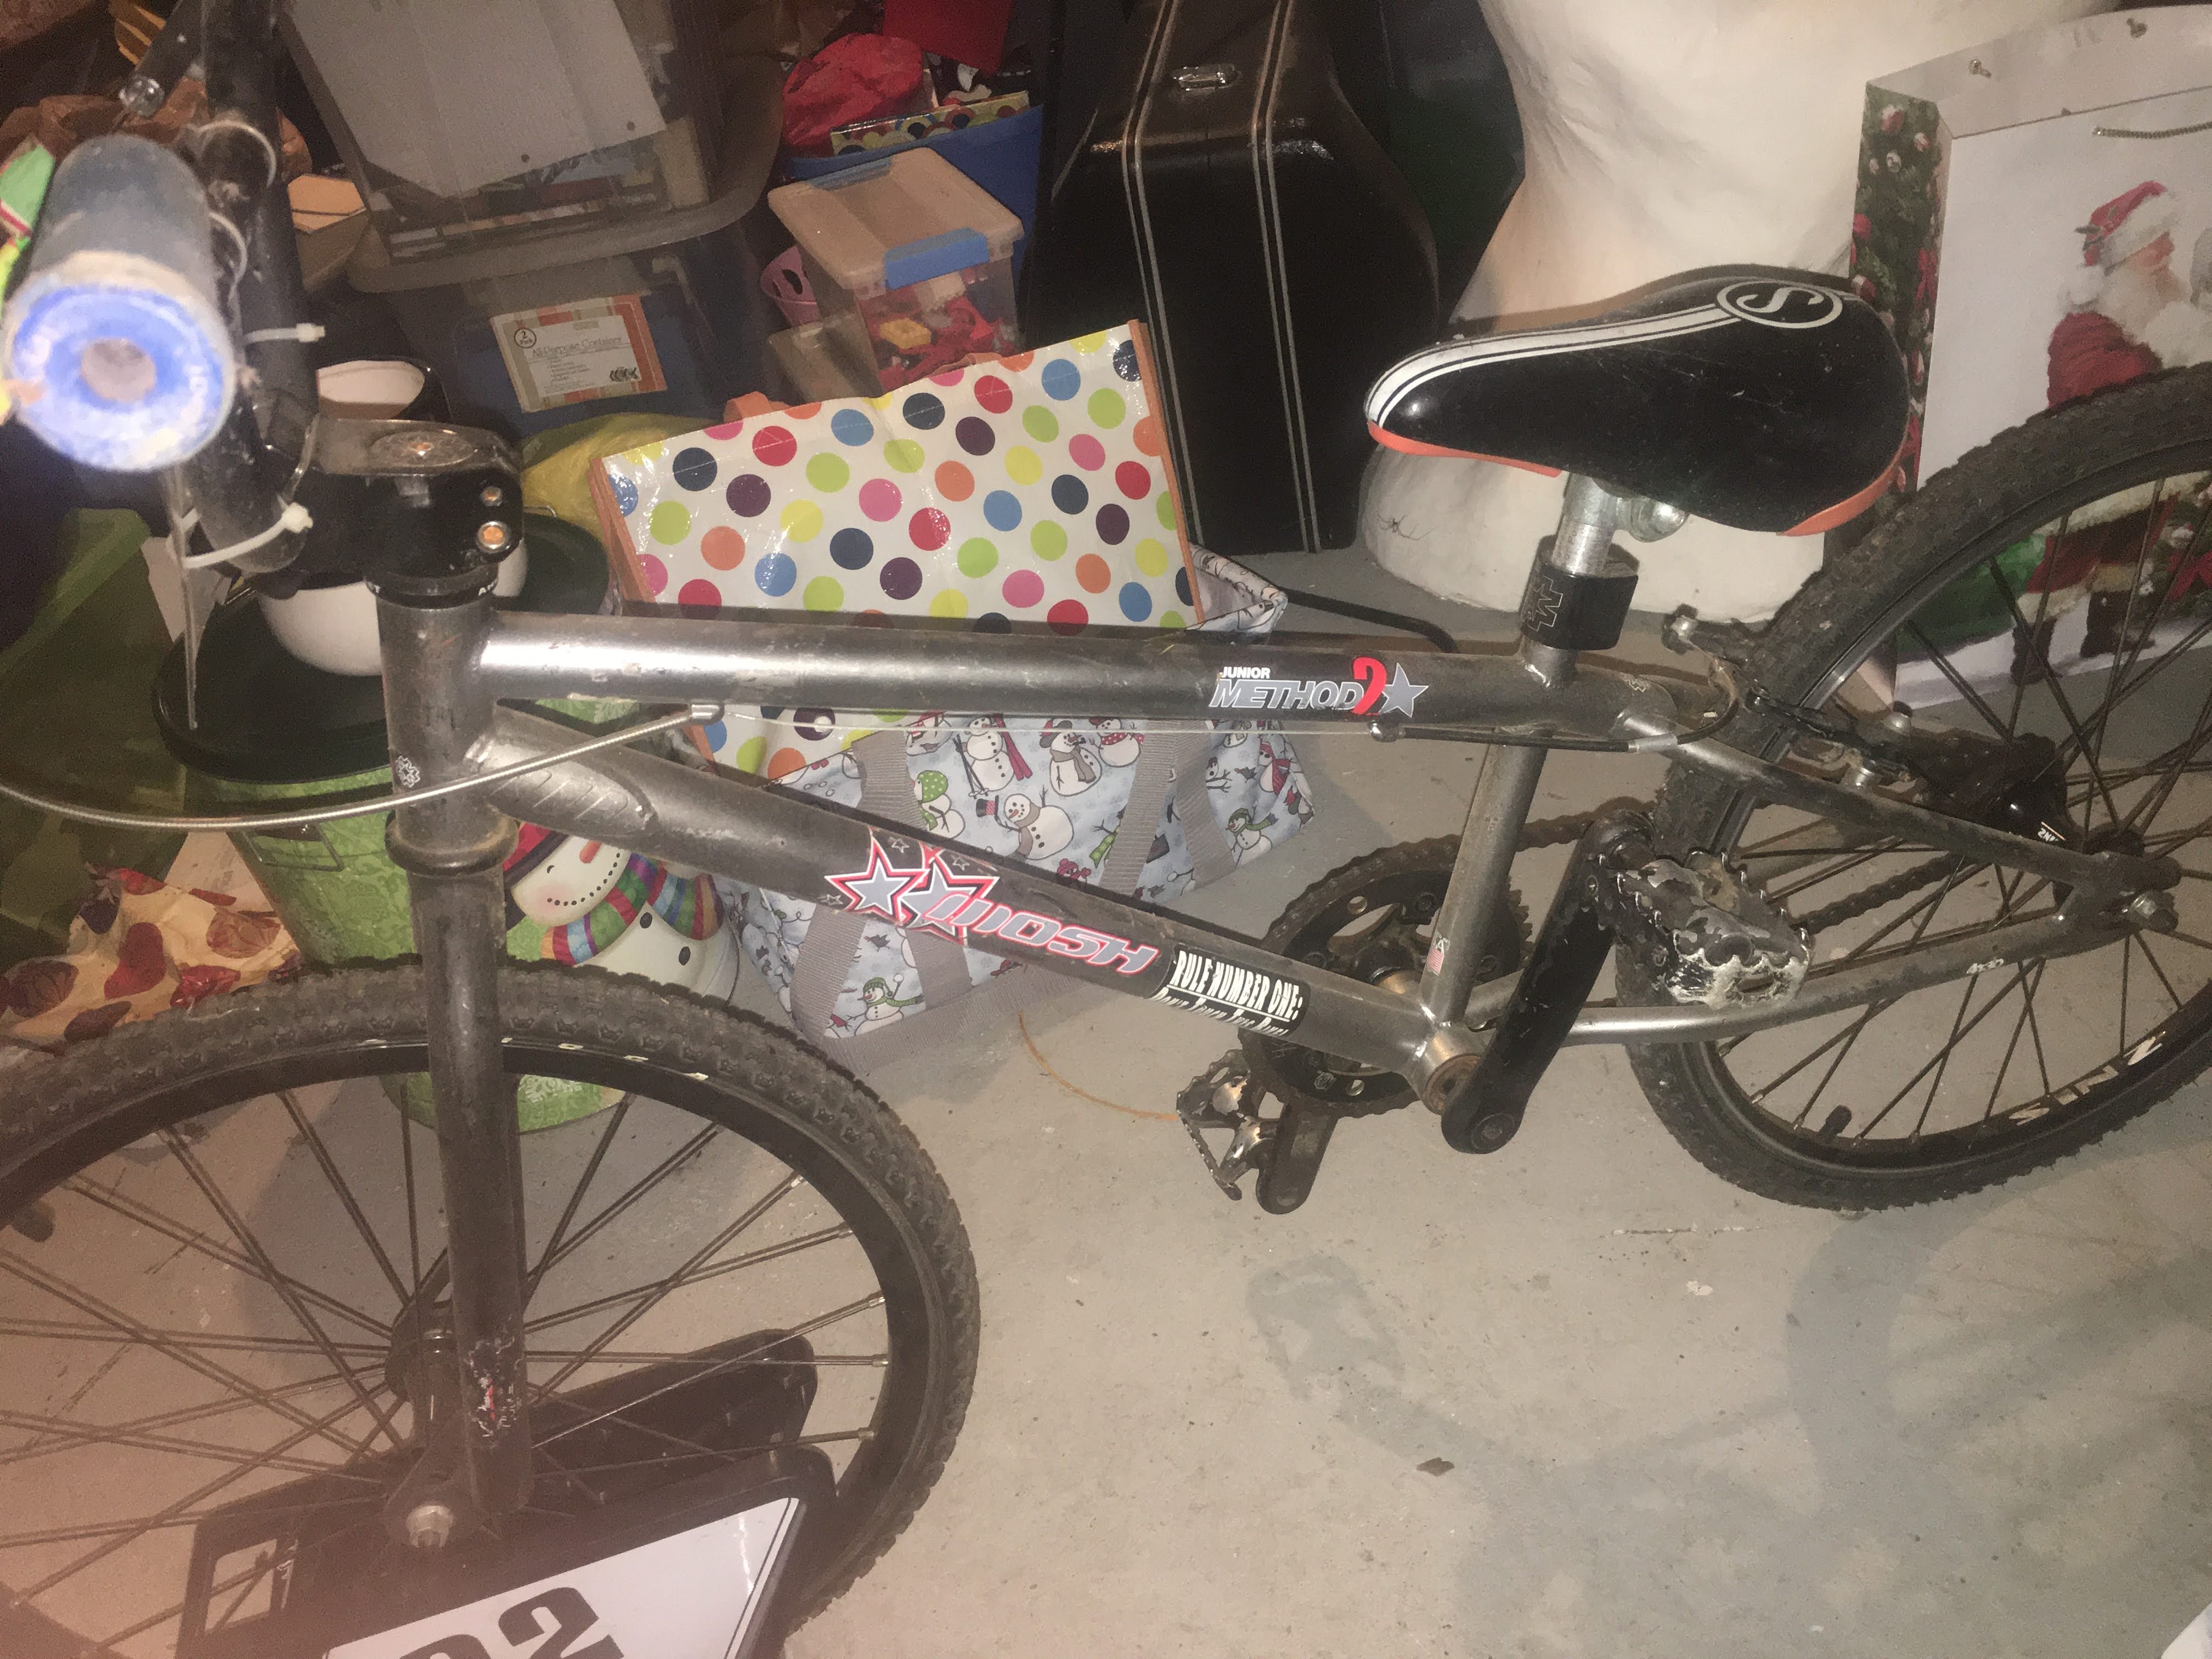
1/1/21
I started to look around my house and basement and take note of the things that I have. I have 5 potential frames that I could use(here is one in the picture that I will most likely use). I have started to look for tires. Some of them aren't the right size for the frame I want to use, and then some of them don't have tubes in them. But there are still some tires I haven't even touched yet so there is still potential to find the right ones.

12-30-20 - Logo
Last week I created my logo. The following weeks I am going to start to run inventory on what I have and what I could put together. That way if I do end up having to order something that I really need, I leave enough time for it to come in.